


Authentic Hyderabadi Chicken Biryani Recipe: A Royal Dish Made Easy at Home
There’s something almost magical about the aroma of Biryani wafting through the kitchen. It’s the kind of fragrance that stops you in your tracks, that pulls you in with its promise of a rich, flavorful meal.
Among all the different kinds of Biryani in India, Hyderabadi Chicken Biryani holds a special place. A dish born in the royal kitchens of the Nizams, it’s a feast that combines tradition, technique, and tantalising taste.
But here’s the good news: you don’t need to be a chef or own a restaurant to make it. The good news is that being a chef or restaurant owner is unnecessary to make this dish. The appropriate kitchen appliances and patience allow anyone to prepare this royal dish at home.
So, let’s roll up our sleeves and learn how to make authentic Hyderabadi Chicken Biryani at home, one that’s layered with flavour, cooked to perfection, and guaranteed to impress.
What Makes Hyderabadi Chicken Biryani Special?
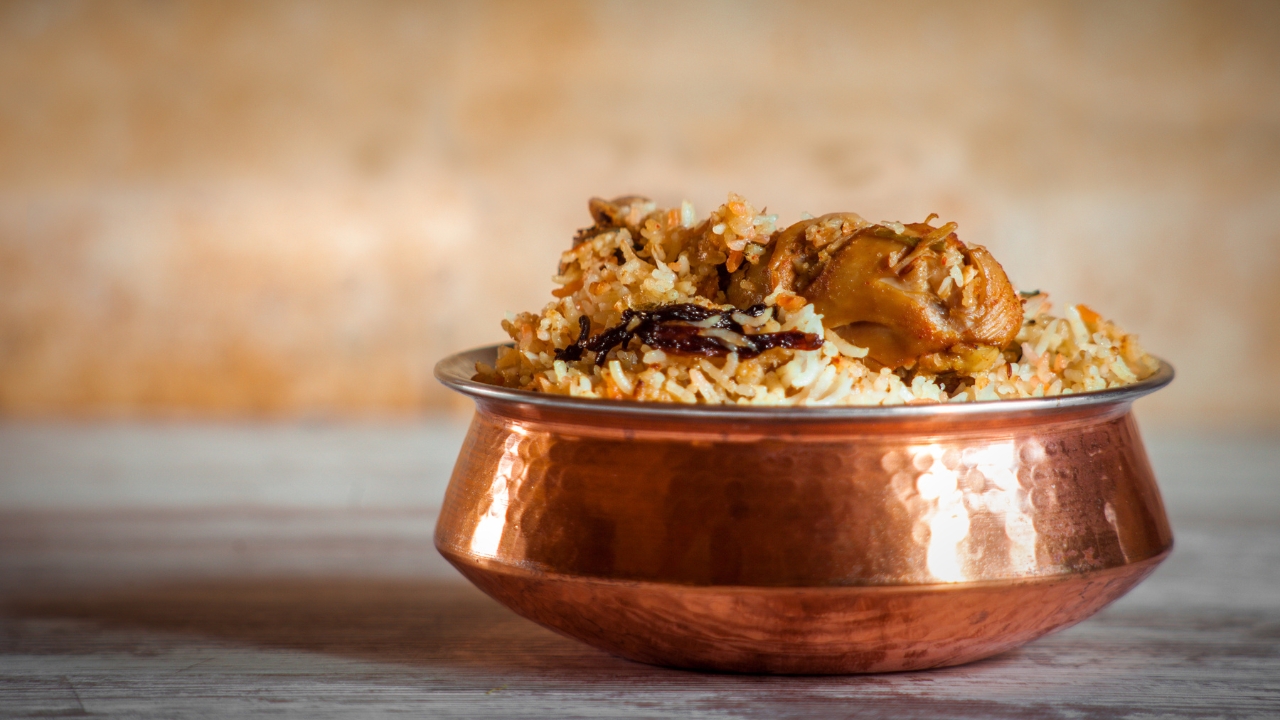
Credits: Canva
Before we jump into the cooking, let’s take a moment to appreciate what makes this dish so unique.
The traditional cooking technique of Hyderabadi Biryani uses the "dum" process to combine layered raw marinated meat with partially cooked rice before cooking on low heat. The cooking method results in exquisite flavour fusion. The result? The result of this recipe combines tender pieces of chicken with flavorful saffron-infused rice, which soaks in the ghee and aromatic herbs.
This biryani dish exists in two principal types known as Kacchi (raw) Biryani and Pakki (cooked) Biryani. This article demonstrates how Kacchi style combines raw marinated chicken with rice cooking in the same pot. With reliable kitchen tools, managing this process becomes feasible even though it involves somewhat more technical preparation steps.
Ingredients You’ll Need
Let’s start by gathering everything you’ll need. While the ingredient list might look long, most of these are common pantry staples, especially if you love Indian food.
For Marination:
-
1 kg chicken (bone-in, preferably leg and thigh pieces)
-
1 cup thick curd (yoghurt)
-
2 tablespoons ginger-garlic paste
-
2 teaspoons red chilli powder
-
1 teaspoon turmeric powder
-
1 tablespoon coriander powder
-
1 teaspoon garam masala
-
Juice of 1 lemon
-
Salt to taste
-
A handful of chopped mint leaves
-
A handful of chopped coriander leaves
-
2-3 green chillies, slit
- 3 tablespoons fried onions (crispy and golden brown)
For Rice:
-
500 grams basmati rice (long grain, aged)
-
Whole spices: 4 cloves, 2 green cardamoms, 1 black cardamom, 1 bay leaf, 1-inch cinnamon stick, 1 star anise
-
Salt to taste
- Water for boiling
For Assembly:
-
2 tablespoons ghee
-
Saffron strands soaked in ¼ cup warm milk
-
Fried onions (a generous handful)
-
Fresh coriander and mint
- Dough to seal the lid (made from wheat flour and water)
Step 1: Marinate the Chicken (Let the Flavours Sink In)

Credits: Glen India
All magic emerges from the marination step. Mix all "For Marination" ingredients in a large bowl and stir the chicken until it absorbs all the mixture thoroughly. The thick consistency of curd should be used because it effectively grabs the spices.
An electric blender or mixer grinder will produce a perfect combination for fresh ginger-garlic ingredients when making a smooth marinade. The paste achieves a uniform mix with the marinade due to this step.
Cover the bowl, then let the marination process take effect for at least 4 to 6 hours and ideally spend it overnight inside the refrigerator. Placing the chicken in the mixture for prolonged periods allows both tenderness development and complete spice absorption.
Step 2: Prepare the Rice (Half Cooked, Not More)
The rice needs to be parboiled to reach 60-70% cooking prior to dum because further cooking will take place inside the pot. Before boiling, treat the basmati rice in water for 30 minutes. By doing so, we obtain those distinctive and separate rice grains.
Boil water in a large pot. After adding enough salt, put all the spices into the water. Add the pre-soaked rice when the water reaches a boil. The cooking process should stop when the grains reach the 70% mark because you should be able to snap a grain without completely softening it.
After draining the rice, pour it onto a plate to prevent any additional cooking process.
Step 3:  (The Golden Crunch)
Credits: Glen India
To achieve the authentic experience of Hyderabadi Biryani, you need fried onions that should be crispy. Cut the onions into thin strips, then fry them in small portions until they become golden brown. An induction cooktop or gas stove operating at a steady temperature will allow you to fry them without burning.
You will use the fried onions as an ingredient for marinating the meat and for layering ingredients, and for adding the finishing touch as a garnish. Failing to do this step means you cannot achieve the essential flavour and aroma of authentic biryani.
Step 4: Layering the Biryani (It’s All About the Layers)
Now comes the fun part, layering. In a thick-bottomed pan or a heavy-duty biryani handi:
-
Base Layer: Spread the marinated chicken evenly across the bottom.
-
Rice Layer: Add half the parboiled rice gently on top.
-
Sprinkle some fried onions, mint, coriander, saffron milk, and a drizzle of ghee.
-
Add the remaining rice, repeat the toppings, and finish with more ghee and saffron milk.
Be gentle during layering. You want the grains of rice to remain intact, not mashed.
Step 5: Dum Cooking (The Traditional Way)

Credits: Glen India
The lid of the pot should be sealed with dough. The dough covers the pot completely to trap steam inside, which cooks the meat and rice by their natural fluids. The fundamental principle of “dum” cooking method involves this step.
Place the biryani pot on a gentle flame for cooking. The application of a griddle or tawa beneath the biryani pot helps to distribute heat equally while stopping any potential burning from occurring. Place the pot on dum for an approximately 45-minute cooking period.
The oven should be preheated to 180°C if your oven is contemporary, and you must bake the sealed pot for 30–35 minutes.
Step 6: Rest and Serve (The Wait is Worth It)
After switching off the heat, let the biryani rest for 10–15 minutes without opening the lid. This allows the steam to settle and the flavours to develop even more deeply.
Use a flat spoon or spatula to gently lift and serve the biryani. Don’t mix it too much, you want to keep the layers intact.
Serve hot with:
-
Raita (curd mixed with chopped onions, cucumber, and mint)
-
Mirchi ka salan (green chilli curry)
-
Boiled eggs and lemon wedges (optional)
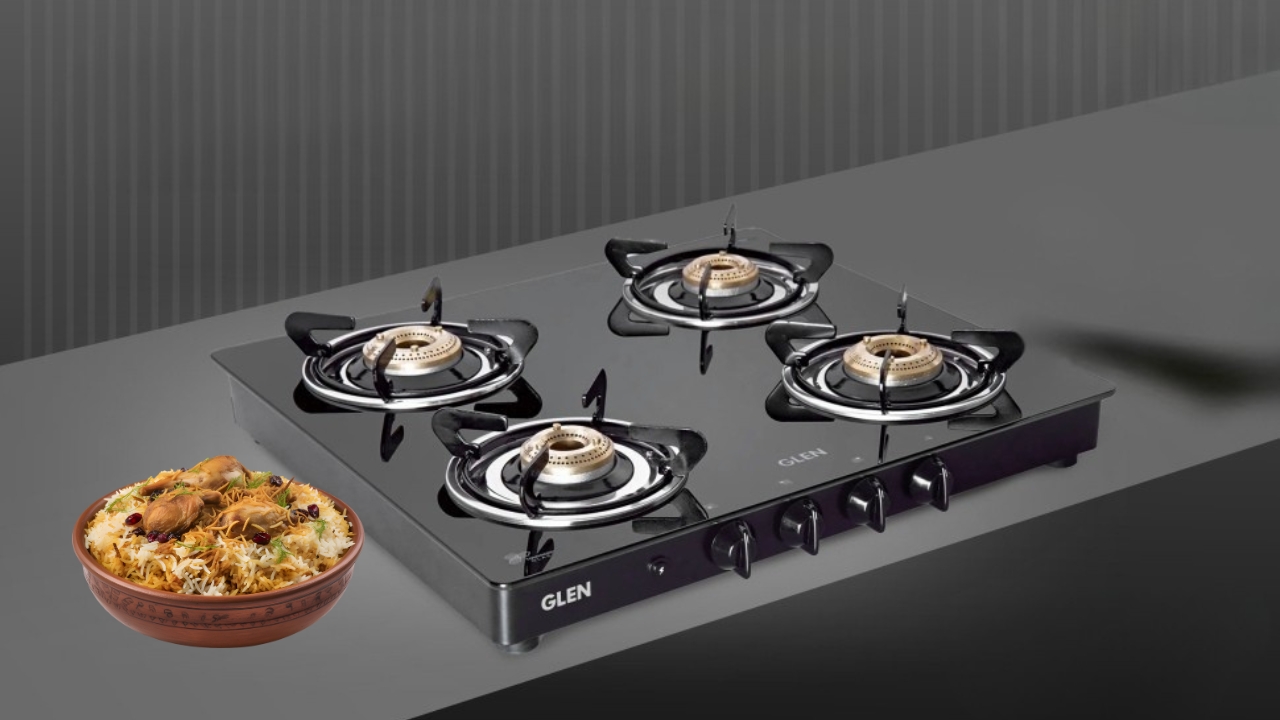
Kitchen Tools That Make It Easy
Let’s talk about something that makes this whole process smoother: reliable kitchen appliances. A high-speed mixer grinder helps you make pastes and spice blends quickly. An induction cooktop gives you temperature control for consistent cooking. A sturdy non-stick biryani pot or heavy-bottomed pan ensures even heat distribution and prevents sticking or burning.
Even something as simple as a chimney hood can be a game-changer, especially when you're frying onions or slow-cooking biryani for hours. It keeps your kitchen smoke-free and smelling fresh.
Modern cooking is all about combining traditional flavours with contemporary convenience. And with the right appliances, you can enjoy the process, not just the result.
Why Homemade Biryani Hits Different
Credits: Canva
There’s a kind of joy that comes from making Hyderabadi Chicken Biryani at home. You control the ingredients, you choose the spice level, and you pour your heart into each step. It’s more than just food, it’s an experience. A dish like this brings families together, makes guests feel special, and reminds you of how good homemade meals can be.
And let’s not forget the leftovers. Biryani tastes even better the next day after all the flavours have had time to settle and blend!
Final Thoughts:
Authentic Hyderabadi Chicken Biryani doesn’t have to be intimidating. With a bit of planning and the right tools in your kitchen, you can make this masterpiece whenever the craving strikes. And when you equip your kitchen with high-performance appliances like those from Glen, cooking becomes a pleasure rather than a chore.
From efficient chimneys that handle aromatic spices to powerful grinders, ovens, and cooktops designed for Indian cuisine, Glen India makes sure your time in the kitchen is effortless and enjoyable.
So, the next time you're in the mood for something indulgent and comforting, give this biryani recipe a try. You might just surprise yourself and everyone around your table.
Leave a comment