


Dahi Puri Recipe Without the Mess: A Street Food Delight Made Simple at Home
Table of Contents
Remember coming across an Indian market and seeing heaps of activity alongside the street? There is a combination of many different spices in the air about to make your mouth water as you hear laughter from family and friends exchanging amiable banter over good food.
Takes a lot of empty calories, feels bad and dahi puri, small crispy shells of yogurt deliciously garnished with nutty sev patty trim, there is a touch of or two of chutney dahi puri shells. At first sight you are dazzled and cannot stop yourself from grabbing as many as possible and chowing down.
Trying to recreate this dish always ends up with the kitchen looking like a warzone, various mixtures sprayed onto the wall and food splattered everywhere. The good news is now there is street-style dahi puri separated from the chaotic spoon-in-the-pantry version.
In this guide I will teach you how to use mixer grinders that help eliminate the need to clean the kitchen, shredding puris and making chaat easier than ever.
What You’ll Need: Ingredients for No-Mess Dahi Puri

Credits: Canva
Let’s gather everything you’ll need. Most ingredients are easy to find, and you might already have them. Here’s what you need for about 24 puris (serves 4-6 people):
- Puris (small, crispy gol gappa shells): 24, store-bought.
- Yogurt (curd): 2 cups, thick and fresh. Greek yogurt adds extra creaminess.
- Boiled Potatoes: 2 medium, peeled.
- Boiled Chickpeas: 1 cup, soft and cooked.
- Tamarind Chutney: 1/2 cup, store-bought or homemade.
- Green Chutney Ingredients (to blend in mixer grinder):
- Fresh mint leaves: 1 cup.
- Fresh cilantro leaves: 1 cup.
- Green chilies: 1-2 (adjust for spice).
- Ginger: 1/2 inch piece.
- Lemon juice: 1 tablespoon.
- Salt: 1/2 teaspoon.
- Water: 2-3 tablespoons.
- Chaat Masala: 2 teaspoons.
- Red Chili Powder: 1 teaspoon (less if you prefer mild).
- Roasted Cumin Powder: 1 teaspoon.
- Sev (crisp chickpea noodles): 1/2 cup for topping.
- Fresh Coriander Leaves: 2 tablespoons, chopped.
- Pomegranate Seeds: 1/4 cup (optional, for sweet crunch).
- Sugar: 1 teaspoon (to balance yogurt).
- Salt: To taste.
Tip: Set out your ingredients in small bowls before starting. This keeps things organized and makes cooking a breeze.
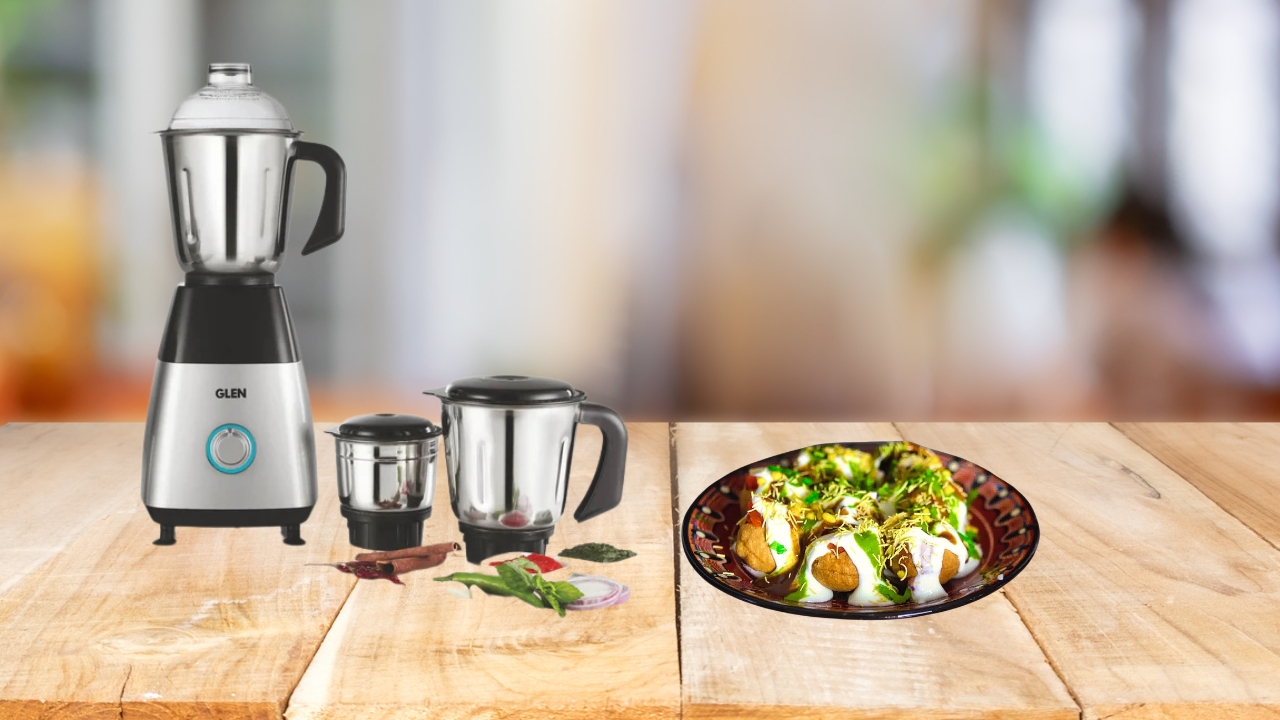
How to Make Dahi Puri Without the Mess

Credits: Glen India
Step 1: Make the Green Chutney with a Mixer Grinder
The addition of green chutney contributes a beautiful hit of spiciness to your dahi puri. To make things easier, use a mixer grinder because you don’t need to mince by hand. Toss the mint leaves, cilantro, green chilies, ginger, lemon juice, salt, and 2 or 3 tablespoons of water into the jar of the mixer grinder. Let it blend at medium speed until it becomes a smooth soft paste. Should the paste seem too thick, feel free to slightly increase the water. But do not make it watery.
Retrieve the chutney and put it into a small bowl. Set aside. Scrape the mixer grinder jar immediately to avoid stains later which makes cleaning up easier. Store in the fridge as this chutney can be prepared a day earlier.
Step 2: Prepare The Yogurt Mixture
The heart of dahi puri is the yogurt, or ‘dahi’. The curd needs to be beaten well so that there are no lumps remaining. If it appears thick, feel free to add water, about 1-2 tablespoons should suffice, so that it can be poured easily. Combine with 1 teaspoon of sugar, a bit of salt, and 1 teaspoon of chaat masala for the flavors to be assertive but balanced.
Use a squeeze bottle or piping bag. This method prevents mess during assembling puris.
Step 3: Using a Mixer Grinder Prepare The Filling
Into the mixer grinder jar place the boiled potatoes, peel them off their skin and chop them into large pieces, along with other pieces of boiled chickpeas. Pulse at low speed for a few seconds to create a coarse, textured mash(every bit of potato has to feel like potato). Move the bowl away from the mixture and keep it in a bowl.
Mix the mashed combination with salt, red chili powder, and chaat masala to taste. Combine all the ingredients to have a single mixture and not several pieces. A grinder does it faster and more efficiently. When serving the filling, a melon baller or small spoon will make neat portions. To retain its freshness, the filling should be kept covered.
Step 4: Arrange Your Work Area
The puris should be served on a big plate or tray. Place the yogurt squeeze bottle, filling, green chutney, tamarind chutney, sev, and garnishes in arms reach.
Use a fresh towel or a piece of parchment paper and place it underneath the tray to maintain cleanliness for the duration that it is served. This will allow for straightforward cleaning when done.
Step 5: Assemble the Dahi Puri
Let us move on to what is exciting, adding the ingredients inside the puris. Using a spoon, gently tap the surface of the puri a bit to create a small opening. The goal is to crack the surface a little, but do not overshoot. In the event that one does break, that is perfectly fine, they can be set aside for munching on later.
Assemble Everything:
- Add around one teaspoon of the chickpea and potato filling into the puri.
- Put a few drops of tamarind and green chutney, taking care to use just enough to maintain the puri’s crispiness
- Drizzle a swirl of yogurt over the filling so that the puri is filled almost to the brim.
- Add a generous serving of sev, sprinkle some roasted cumin powder, and top with chopped coriander leaves.
- (Optional) Add a few pomegranate seeds for a burst of sweetness.To keep the puris crisp, work in small batches (6-8 puris at a time). If feeding a crowd, assemble them right before serving to prevent sogginess.
Step 6: Serve and Enjoy

Credits: Canva
Serve your dahi puris on a platter immediately. For an added decorative touch, sprinkle extra chaat masala or pomegranate seeds. To enjoy, pop the entire puri into your mouth to experience the delightful blend of crispy, creamy, spicy, and tangy flavors. It’s pure bliss!
Tricks to Keep Things Clean
Here are easy ways to keep your kitchen spotless while making dahi puri
- Use Store-Bought Puris and Tamarind Chutney: They’re tasty and save time.
- Get a Squeeze Bottle: It’s cheap and perfect for neat yogurt and chutney drizzling.
- Prep Ahead: Make the green chutney, yogurt mix, and filling a day before and store in the fridge.
- Clean as You Go: Rinse the mixer grinder jar and bowls right after use.
How the Mixer Grinder Makes It Easier
The mixer grinder is your kitchen sidekick here. It blends the green chutney in seconds, saving you from tedious chopping. It also mashed the potatoes and chickpeas quickly, giving you a perfect filling texture without the elbow grease. This tool cuts down prep time, letting you focus on the fun part—eating!
Tips for a Mess-Free Experience
Let’s talk about keeping your kitchen pristine while you channel your inner street food vendor. Here are some lifestyle-friendly hacks to make the process smooth:
- Use Store-Bought Puris and Chutneys: They’re just as good as homemade and save you tons of time. Look for high-quality brands at your local Indian grocery store.
- Invest in a Squeeze Bottle: This tool is a lifesaver for drizzling yogurt and chutneys with precision.
- Prep Ahead: You can make the yogurt mixture, filling, and chutneys a day in advance. Store them in airtight containers in the fridge.
- Clean as You Go: Rinse bowls and utensils right after use to avoid a pile-up in the sink.
- Use Disposable Plates for Parties: If you’re hosting, serve on eco-friendly disposable plates to cut down on dishwashing.
The Joy of Chaat at Home
Credits: Glen India
Whipping up your very own rendition of street food is a guilty pleasure! It’s not only about savoring the meal. The experience is nostalgic. The enjoyable memories remind me of when my friends and I would get together and try to eat puris in unison without ruining the entire thing. Or perhaps all of the compliments from my family on my chaat cooking made me feel good. It’s a ding that good food doesn’t need to be rough and complicated, instead taste simple yet extraordinary.
Conclusion
With this effortless recipe, dhahi puri can now be made anywhere and everywhere around the globe. It tags along with being vivid because it’s the “one recipe for all occasions”. Not cleaning up your work area after whipping up some chaat is the beauty of this recipe.
Preparing for a Diwali party, hosting yourself for a game of solitary chaat night, or just showing your friends what Indian street food is really about – this recipe is all you need. Glen India's modern appliances will level up the chaat cooking experience for you. Glen India levels up your cooking and makes prep work smoother with their appliances. Get ready to sharpen your culinary skills.


Leave a comment