


Flaky Kachori Recipe: Low-Oil OTG Hack for Guilt-Free Indulgence
Table of Contents
Some people still think that making kachoris at home requires an entire container of oil for frying. The claim that these Indian pastries must be submerged in oil to achieve that perfect crunch is simply a misconception that must die.
For so long, we have been told that the only way to get kachoris that are puffed and golden in color is by deep frying them. Well, guess what? You can actually make low-oil kachoris in an OTG (oven-toaster-grill) and they’ll be just as delicious.
That's right! No vicious splatters, no oil smell; only unrestrained pleasure with no guilt. I’m showing you how to prepare kachoris that are crunchy on the outside and spicy on the inside, and light enough that you won’t need a nap afterwards.
Want to know how we are accomplishing this? Stay with me, and together we can change the way you perceive kachoris.
Why are Kachoris a Lifestyle Staple?
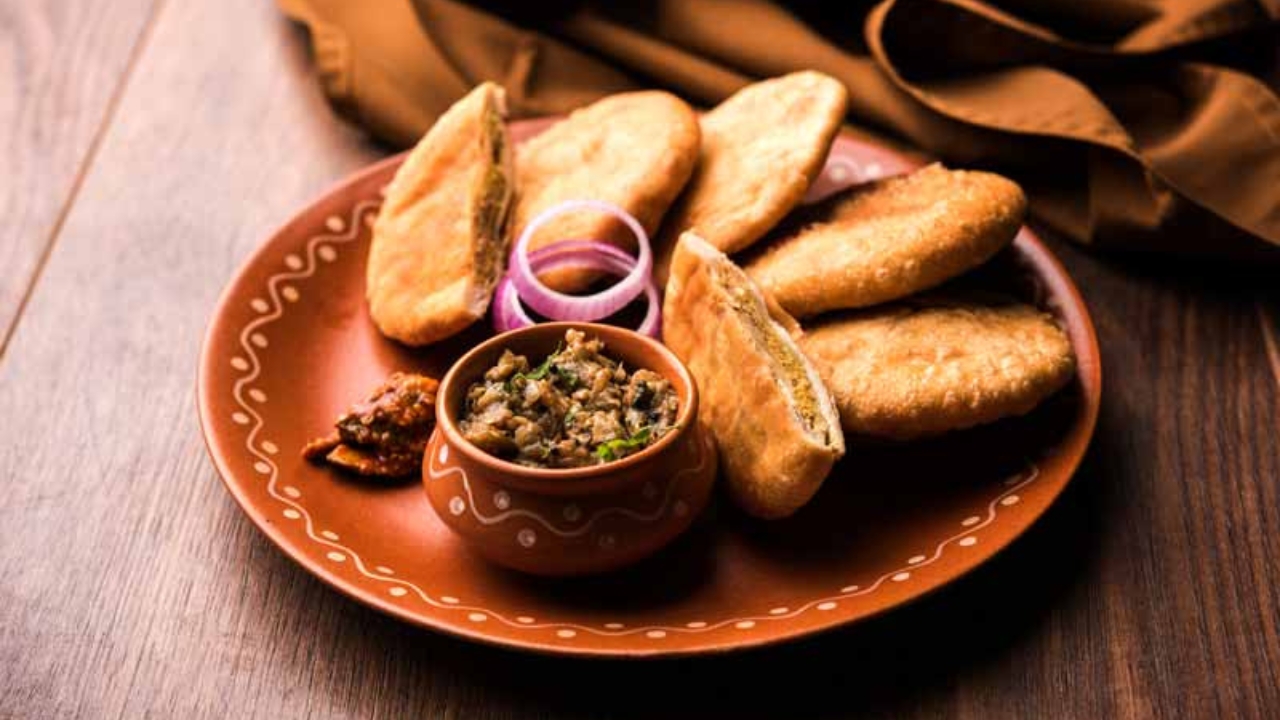
Kachoris are an emotion in itself. These stuffed kachoris-packed goods are bound to lift your spirits whether it’s a Sunday breakfast, a quick evening snack or during festivities. From being a South Indian street food to a North Indian household favorite, Kachoris are an iconic cultural dish.
But let’s be honest, nothing can be compared to the taste of traditional kachoris, but the heaviness it brings after consuming it due to the bubbles and frying oil is harsh. Don’t worry, this is where my recipe comes in. It’s possible to adapt kachoris without chopping joy out of them with swapping oil in the recipe for an OTG. And now, without compromising health or taste, you are free to indulge yourself in a lighter version that’s easier to consume on a daily basis.
Ingredients for Making Kachori
Credits: Canva
Here are the ingredients you’ll need for about 10-12 medium-sized kachoris:
For the Dough:
- 2 cups all-purpose flour (maida)
- 3 tablespoons ghee (clarified butter)
- 1/2 teaspoon salt
- 1/2 cup water (adjust as needed)
- 1 tablespoon oil (for brushing)
For the Filling:
- 1 cup moong dal (split yellow lentils), soaked for 2 hours
- 1 teaspoon cumin seeds
- 1 teaspoon fennel seeds
- 1/2 teaspoon asafoetida (hing)
- 1 teaspoon ginger, grated
- 1 teaspoon green chili, finely chopped (optional)
- 1 teaspoon coriander powder
- 1/2 teaspoon red chili powder
- 1/2 teaspoon garam masala
- 1 teaspoon amchur (dry mango powder)
- Salt to taste
- 2 tablespoons oil
For Serving:
- Tamarind chutney
- Green chutney
- Chopped onions and sev (optional)
Instructions
Credits: Canva
Step 1: Preparing the Dough
Take a big bowl and put in the flour and salt. Make sure to mix them first, before adding ghee. Use your fingertips to incorporate the ghee into the flour and it should change its texture to coarse breadcrumbs.
- Once everything is at the desired consistency, you need to add water into the mixture bit by bit as you knead it. Remember, the goal is to achieve a smooth and firm dough. Make sure it does not become too sticky. If the dough feels dry, add a splash of water. If it is too wet, then you should sprinkle in some flour.
- Before letting the dough rest, knead it first then cover it with a wet cloth. Doing this allows the dough to relax for 15 to 20 minutes.
Step 2: Create the Moong Dal Filling
Pour out the water from the soaked moong dal and pulse it in a blender with no water until it finely chops. The consistency after blending should be coarse—somewhere between a paste and completely smooth. This texture is what provides the filling with its signature bite.
- Heat 2 tablespoons of oil in a pan over medium flame, add cumin and fennel seeds along with the asafoetida and let the combination sizzle for some time. This is where the magic truly starts to form! Incorporate ginger along with green chili (only if you intend to use it) and sauté for a minute.
- At this phase, moong dal should be well mingled in, then coriander powder, red chili powder, garam masala, amchur, salt will follow. Stir for 5 – 7 minutes at low heat until the spices sizzle and the dal is cooked. The end should be deliciously dry and crumbly filling and that's the goal. Let it cool completely..
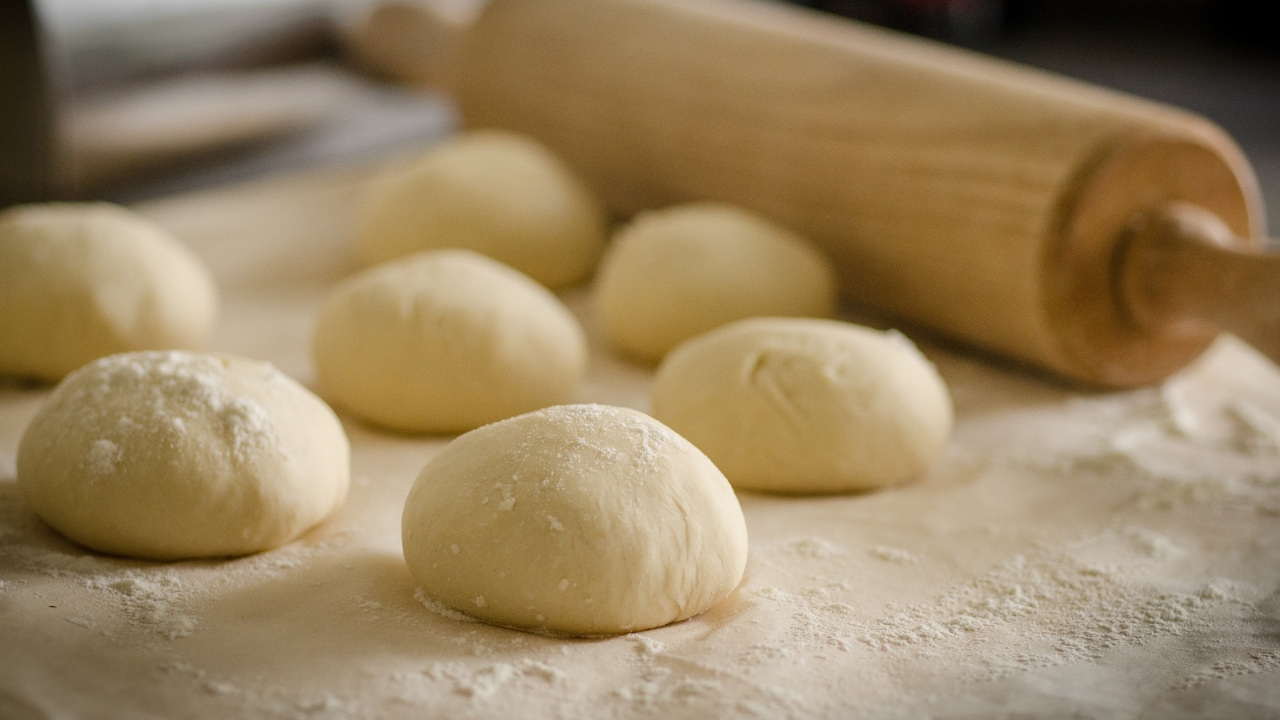
Step 3: Shaping the Kachoris
Now comes the molding or rolling. Use your fingers to mold it to your will. Put a small amount of filling into one of the pieces of dough. With care, seal the entire opening within the dough ball. The next step is to push the ball gently from the top, making sure it isn’t torn in the process.
- Once the filling and dough balls are ready, the never ending cycle goes on as it repeats for all. For those seeking perfectly round kachoris, a cylindrical object such as a rolling pin is recommended.
- While working with the radius, make sure they are not thinner than 1/4 inch. The end goal is to snugly place the filling within the kachori whilst ensuring no compromise is put on the even cooking.
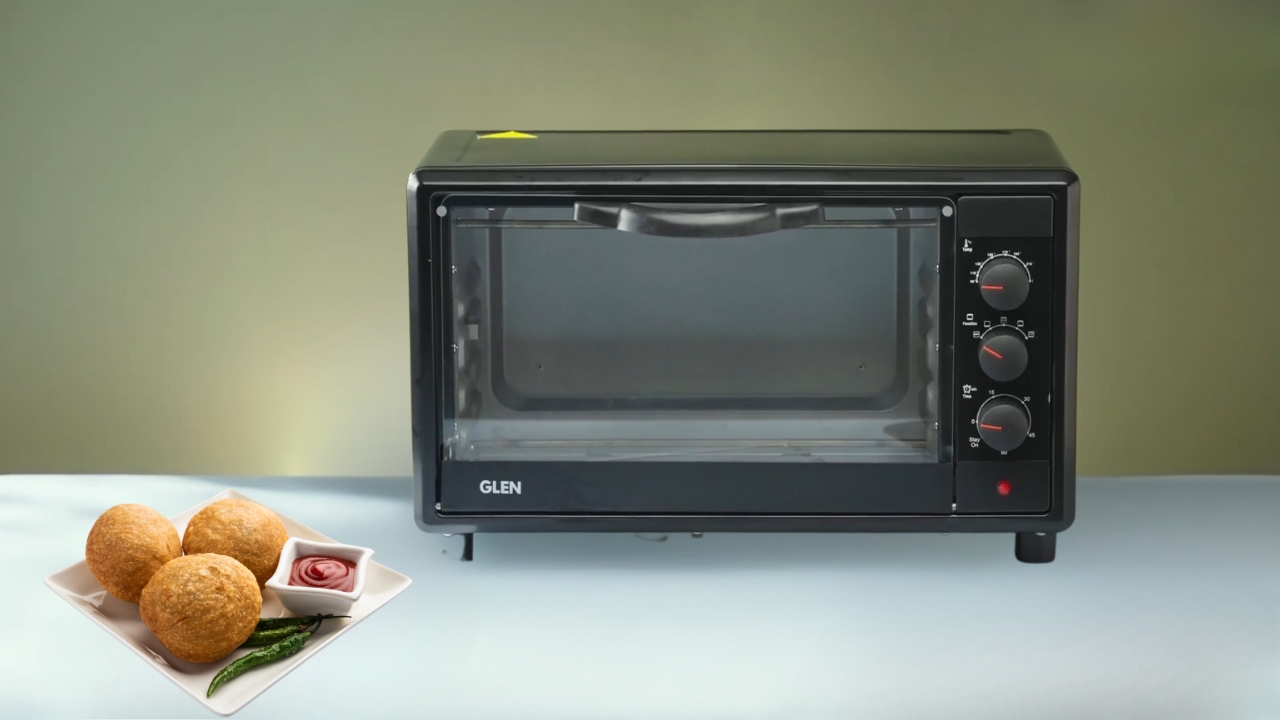
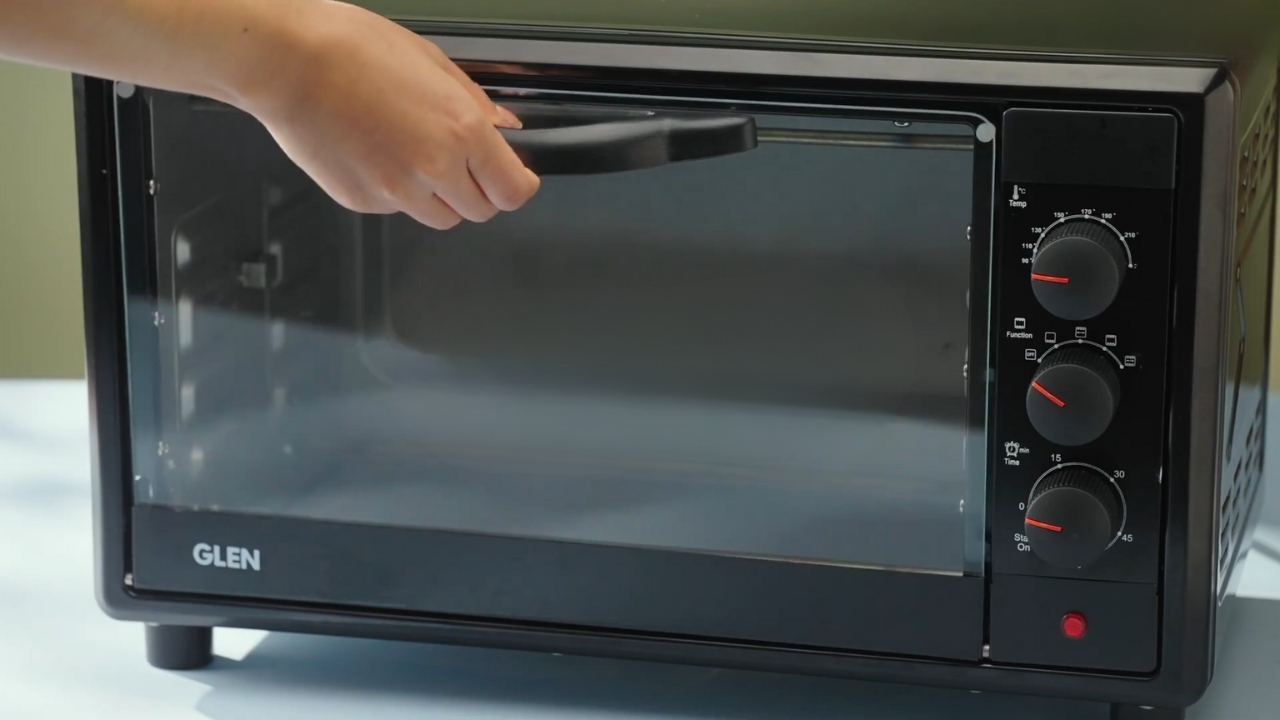
Step 4: Baking Kachoris in an OTG
Credits: Glen India
Firstly, make sure to warm your OTG to 180 degrees Celsius (equivalent to 350 degrees Fahrenheit). Gently place the kachoris in a tray prepared with baking parchment. Be sure that there is adequate space between each kachori. It is necessary to apply some oil on the kachoris which will allow them to become golden and crispy. Set the timer for 20-25 minutes. Make sure to turn the kachoris halfway during this time period to ensure uniform cooking. Your desired outcome should be the beautiful golden-brown color.
It is advisable to let the kachoris cool on a wire rack for some time. As the kachoris cool, they will become crispier while also adding the desired flakiness. If you are too eager to serve the kachoris, open the oven, but ensure to handle the pan with caution.
Step 5: Serving and Enjoying
The ideal temperature for serving kachoris is when they are warm. While serving, drizzle a bit of chutney on top. If you want to experience the authentic vibe of street food, go ahead and sprinkle some chopped onion and sev on the kachoris. It is best to pair kachoris with a cup of steaming masala chai as it enhances the taste. Kachoris are extremely light which gives you the ability to snack without feeling guilty afterwards, so indulge yourself with two or three servings.
The Magic of Baking Kachoris in an OTG
You may be thinking that kachoris need to be fried, as baking them can make one gasp in disbelief at this level of sacrilege.
Well, we all understand it is an ‘unspoken rule’, but the OTG will change your perception.
- It gives off the same high temperatures as frying and gives you the crispy and flaky texture without pouring unhealthy oils. It is very user-friendly; and, does not require any professional cheffing skills.
- All the evenness of an OTG allows for previously controlled kachoris needing to be relegated to just golden and crunchy textures, OTG frying will allow to leave bhujia while drastically cutting down in oil.
Now you can prepare and eat kachoris a lot more often without needing to fast after for the sake of calories.
Tips for Kachori Success
Credits: Canva
To make sure your kachoris turn out perfect every time, here are a few handy tips:
- Don’t skip the ghee in the dough—it’s what makes the kachoris flaky.
- Make sure the filling is completely cool before stuffing, as warm filling can make the dough soggy.
- If your OTG has a fan setting, use it for even heat distribution.
- Store leftover kachoris in an airtight container for up to 2 days. Reheat them in the OTG for a few minutes to restore their crispiness.
Conclusion
Kachoris don’t have to be a guilty pleasure anymore. With this low-oil OTG hack, you can savor every flaky, spicy bite without a second thought. This recipe is proof that you don’t need to compromise on flavor to eat smarter.
Whether you’re a kachori newbie or a seasoned fan, this method is easy, approachable, and oh-so-rewarding. So, fire up your OTG, gather your ingredients, and let’s make kachoris that are as good for your soul as they are for your taste buds. For the best baking experience, trust Glen India’s range of OTGs to deliver perfectly crispy results every time.


Leave a comment