


Homemade Protein Bar Recipe No Preservatives, Budget Friendly & Mixer Grinder Ready
Those glossy, store-bought protein bars labeled “high-protein,” “low carb,” and “power-packed”. These store bought protein bars seem to taste horribly like chocolate-coated cardboard.
The reality of protein bars is that over the years, they have existed for bodybuilders or calorie counters but this notion can be changed. Protein bars can now be an extraordinary everyday snack.
A mixer grinder, you can effortlessly create your very own, fresh, protein bars in the comfort of your kitchen through simple, wholesome ingredients without preservatives or plastic packaging. You can add more chocolate chips.Why settle for bland, overpriced protein bars when you can make your own?
In this article, I will show you how to use a mixer grinder to prepare preservative free protein bars. That's right, no special tools, no culinary training, just you, your kitchen, and some basic ingredients. If you're ready to roll up your sleeves and snack more healthily, keep reading.
Why Make Homemade Protein Bars?
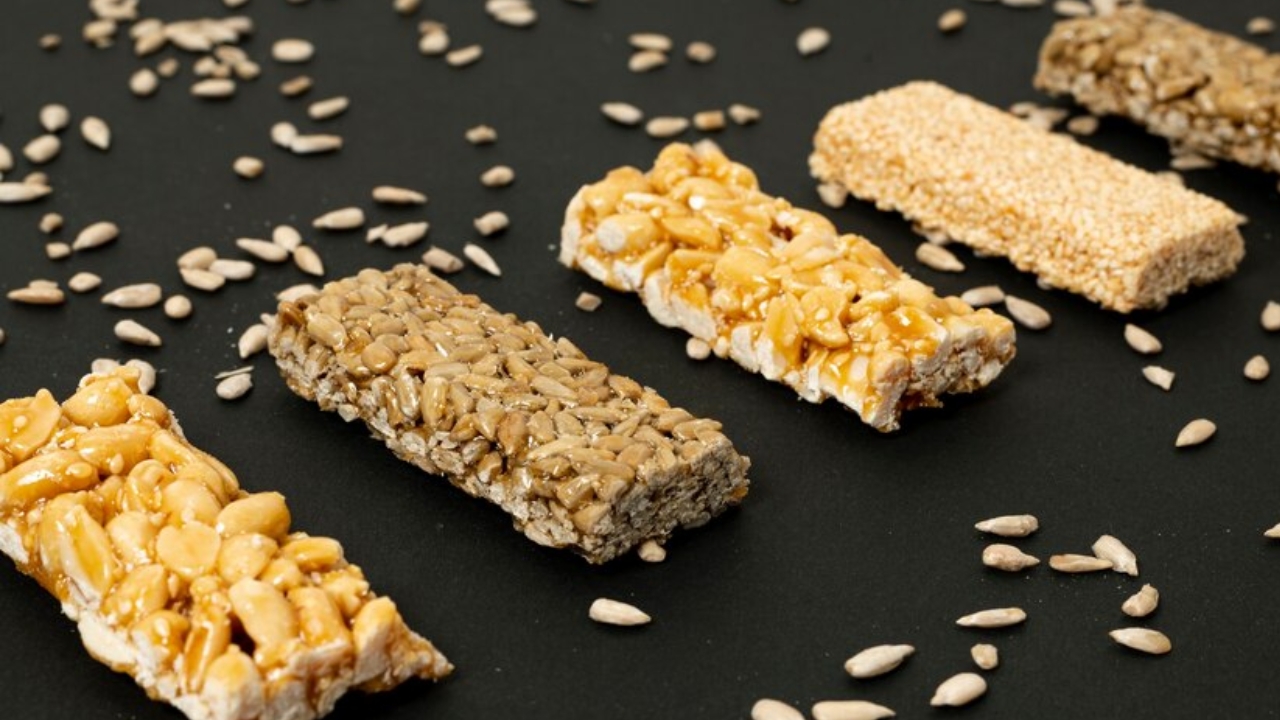
Credits: Freepik
Before we dive into the recipe, let’s talk about why making your own protein bars is a game changer:
- Control Over Ingredients: You decide what goes in. No hidden sugars, preservatives, or artificial flavors.
- Budget Friendly: Store bought protein bars can be pricey. Homemade versions cost a fraction of the price.
- Customizable: Tailor the bars to your taste and dietary needs. Vegan? Gluten free? No problem.
- Convenient: Perfect for a quick breakfast, post workout snack, or midday energy boost.
Ingredients
Here’s what you’ll need to make approximately 8-10 bars:
- 1 cup rolled oats
- 1/2 cup dates
- 1/4 cup peanut butter (or any nut/seed butter of your choice)
- 2 tablespoons honey or maple syrup
- 1/4 cup protein powder (whey, plant based, or any variety you prefer)
- 1/4 cup milk (dairy or plant based)
- 1/2 teaspoon vanilla extract (optional)
- A pinch of salt
- Optional add ins: chocolate chips, dried fruits, nuts, or seeds
Steps
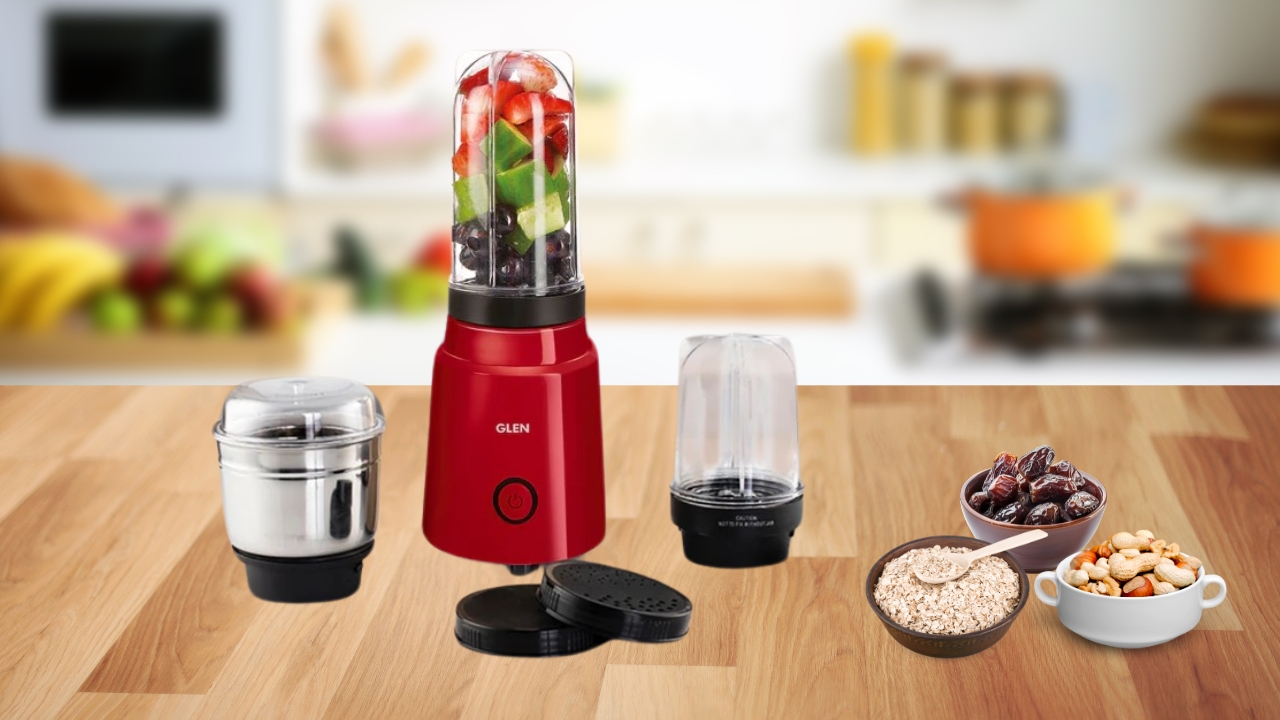
Credits: Glen India
1. Prepare the Dates
Soak the dates in warm water for about 10 minutes to soften them. This makes blending easier.
2. Grind the Oats
Place the rolled oats in your mixer grinder and pulse until they form a coarse flour-like consistency.
3. Blend the Dates
Drain the soaked dates and add them to the grinder with the ground oats. Blend until a sticky dough forms.
4. Add Wet Ingredients
To the date oat mixture, add peanut butter, honey milk, and vanilla extract. Blend until everything is well combined.
5. Incorporate Protein Powder
Add the protein powder and a pinch of salt to the mixture. Blend again until smooth. If the mixture is too thick, add a little more milk to reach a dough-like consistency.
6. Add Optional Mix ins
If you're using chocolate chips, dried fruits, or nuts, fold them into the mixture using a spatula.
7. Shape the Bars
Line a baking tray with parchment paper. Transfer the mixture into the tray and press it down firmly to create an even layer.
8. Chill
Refrigerate the tray for at least 2 hours or until the mixture firms up.
9. Cut and Serve
Once set, remove from the refrigerator and cut into bars of your desired size.
Tips for the Perfect Protein Bar
- Consistency is Key: If the mixture is too dry, add a bit more milk. If it's too wet, add more oats or protein powder.
- Sweetness Level: Adjust the amount of honey or maple syrup to suit your taste.
- Storage: Store the bars in an airtight container in the refrigerator for up to a week. For longer storage, freeze them.
Nutritional Breakdown (Per Bar)
- Calories: Approximately 150-200 kcal
- Protein: 8-12g (depending on the protein powder used)
- Carbohydrates: 20-25g
- Fats: 6-10g
- Fiber: 3-5g
Conclusion
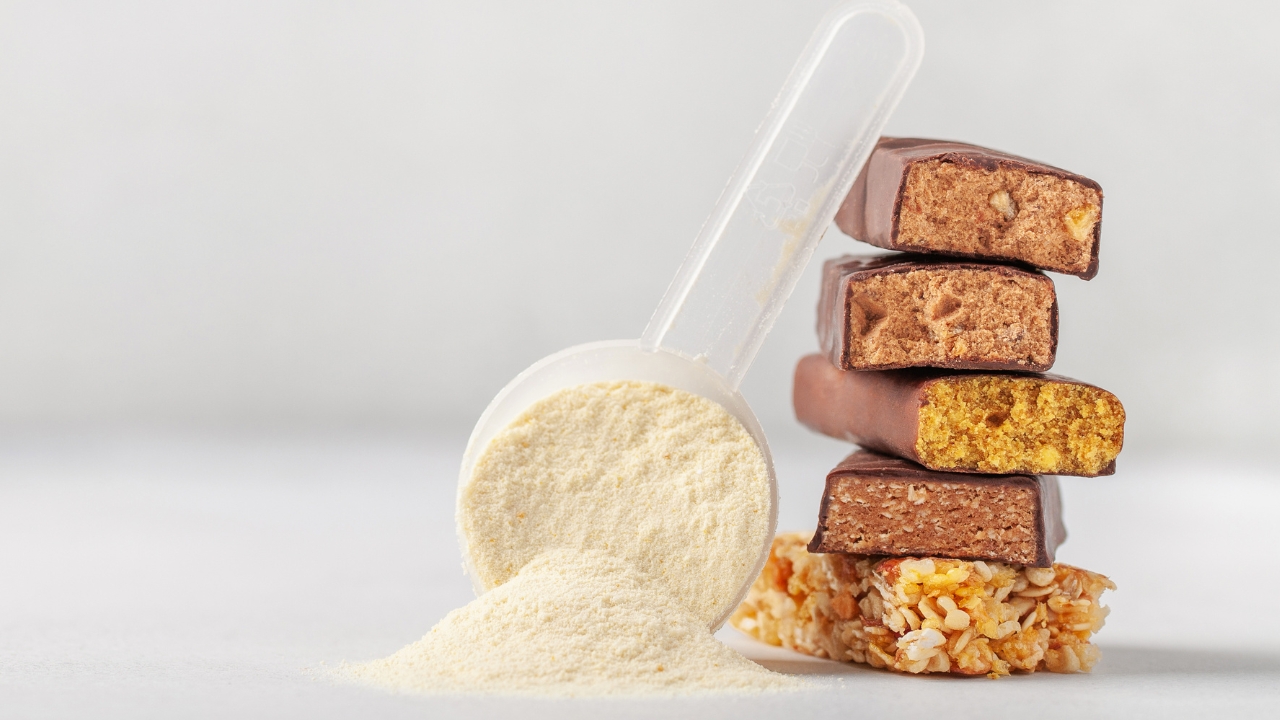
Credits: Canva
Preservative free, cost effective homemade protein bars can be made with just a mixer grinder. These bars are versatile. You can eat them at any time; breakfast, post-workout or even when you need an energy boost. Glen India mixer grinders perform exceptionally well, and their appliances are known to be durable.
They are a perfect construction for every kitchen. You can ensure that eating protein bars is cost effective when making it yourself. You can manually control the ingredients you put in, adding a healthier touch along the way.
Get your equipment and enjoy the rewarding process of making your own custom protein bars!
Frequently Asked Questions
-
Can I use a blender instead of a mixer grinder?
Yes, a blender can work, but a mixer grinder might give you a better consistency for this recipe. -
Are these bars suitable for vegans?
Absolutely! Use plant based protein powder and substitute honey with maple syrup or agave nectar. -
Can I add chocolate chips?
Yes, adding chocolate chips can enhance the flavor. Just be mindful of the added sugar content. -
How long do these bars last?
Stored in an airtight container in the refrigerator, they can last up to a week. For longer storage, freeze them. -
Can I use other nut butters?
Yes, almond butter, cashew butter, or sunflower seed butter are great alternatives.
Leave a comment