


How to Bake Bakery-Style White Bread at Home Using an OTG
Table of Contents
Bakery bread has its unique fluffiness and beautiful flavor which consumers find superior to store-bought alternatives.
A great number of people find it impossible to bake home-made bread but you can achieve even better quality, fresh and preservative free bread by using an OTG (Oven Toaster Grill) with proper techniques.
There’s something incredibly satisfying about pulling a golden, aromatic loaf of bread out of the oven, knowing it’s made with fresh ingredients and love.
This article is perfect for those who want to make homemade bread which surpasses bakery-quality.
Recipe of Bakery-Style Bread
Credits: Glen India
Ingredients:
- 3 cups all-purpose flour (plus extra for dusting)
- 1 ½ teaspoons salt
- 1 tablespoon sugar
- 1 packet (2 ¼ teaspoons) active dry yeast
- 1 cup warm water (not hot)
- 2 tablespoons unsalted butter (softened)
Tools:
- OTG (Oven, Toaster, Griller)
- Mixing bowls
- Measuring cups and spoons
- A wooden spoon or spatula
- A clean kitchen towel
- A bread loaf pan
Here a Step-by-Step Guide to Baking Bakery-Style White Bread in an OTG
Credits: Glen India
Now, let’s get to the fun part, baking your bread! Follow these steps, and you’ll have a golden, fluffy loaf in no time.
Step 1: Activate the Yeast
Start by activating the yeast. In a small bowl, combine the warm water, sugar, and yeast. Stir gently and let it sit for about 5-10 minutes. You’ll know the yeast is activated when it becomes frothy and bubbly. If it doesn’t foam, your yeast might be inactive, and you’ll need to start over with fresh yeast.
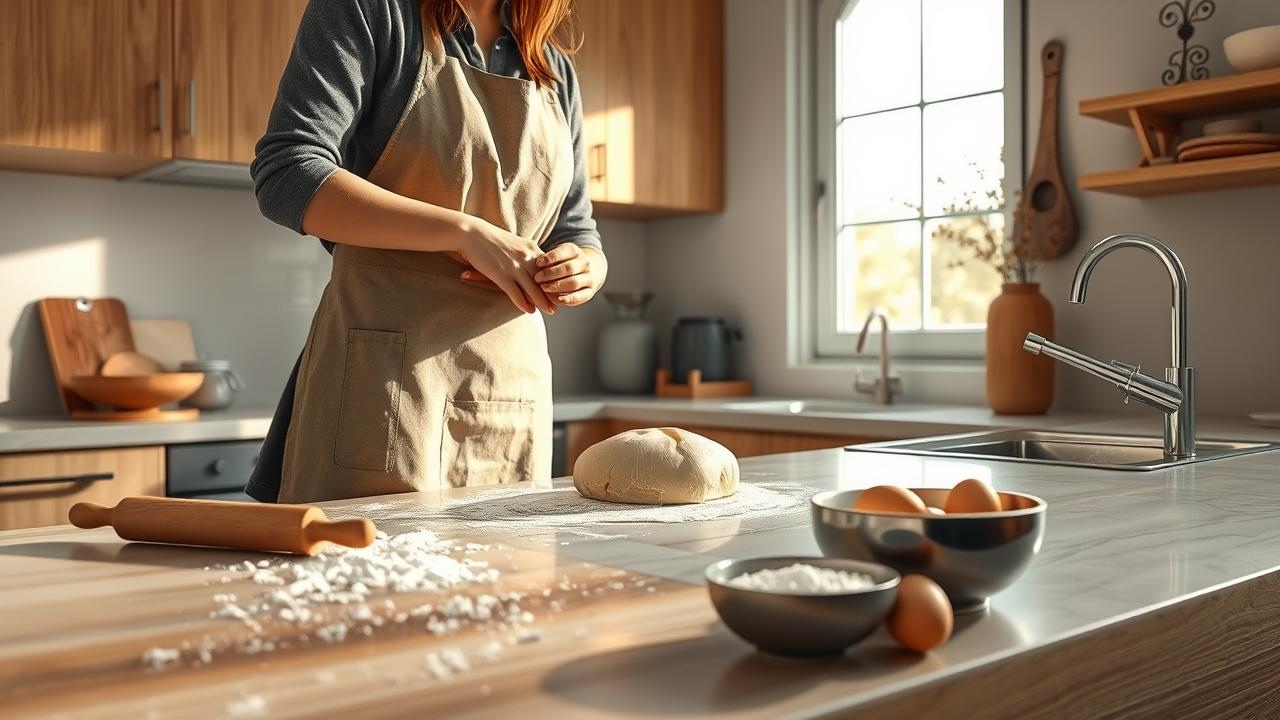
Step 2: Prepare the Dough
In a large mixing bowl, combine the flour and salt. Make a well in the center and pour in the activated yeast mixture. Add the softened butter. Mix everything together until a dough forms. If the dough feels too sticky, add a little more flour, one tablespoon at a time.
Step 3: Knead the Dough
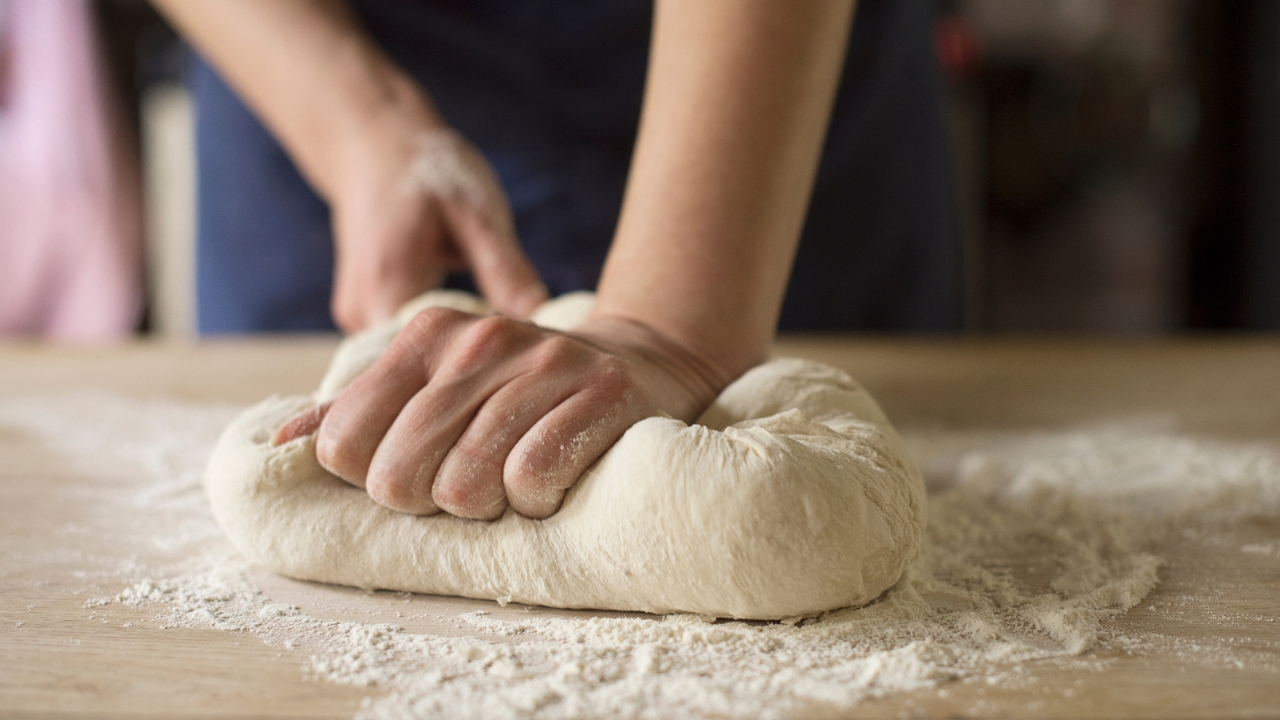
Credits: Glen India
Turn the dough out onto a floured surface and knead it for about 8-10 minutes. Kneading is crucial as it develops the gluten, which gives the bread its structure and texture. You’ll know the dough is ready when it becomes smooth and elastic.
Step 4: Let the Dough Rise
Place the kneaded dough in a lightly greased bowl, cover it with a clean kitchen towel, and let it rise in a warm place for about 1-1.5 hours. The dough should double in size. This process, called proofing, allows the yeast to work its magic and create those airy pockets in the bread.
Step 5: Shape the Dough
Once the dough has risen, punch it down to release any air bubbles. Transfer it to a floured surface and shape it into a loaf. Place the shaped dough into a greased bread loaf pan.
Step 6: Second Rise
Cover the loaf pan with the kitchen towel and let the dough rise again for about 30-45 minutes. This second rise ensures your bread will be light and fluffy.
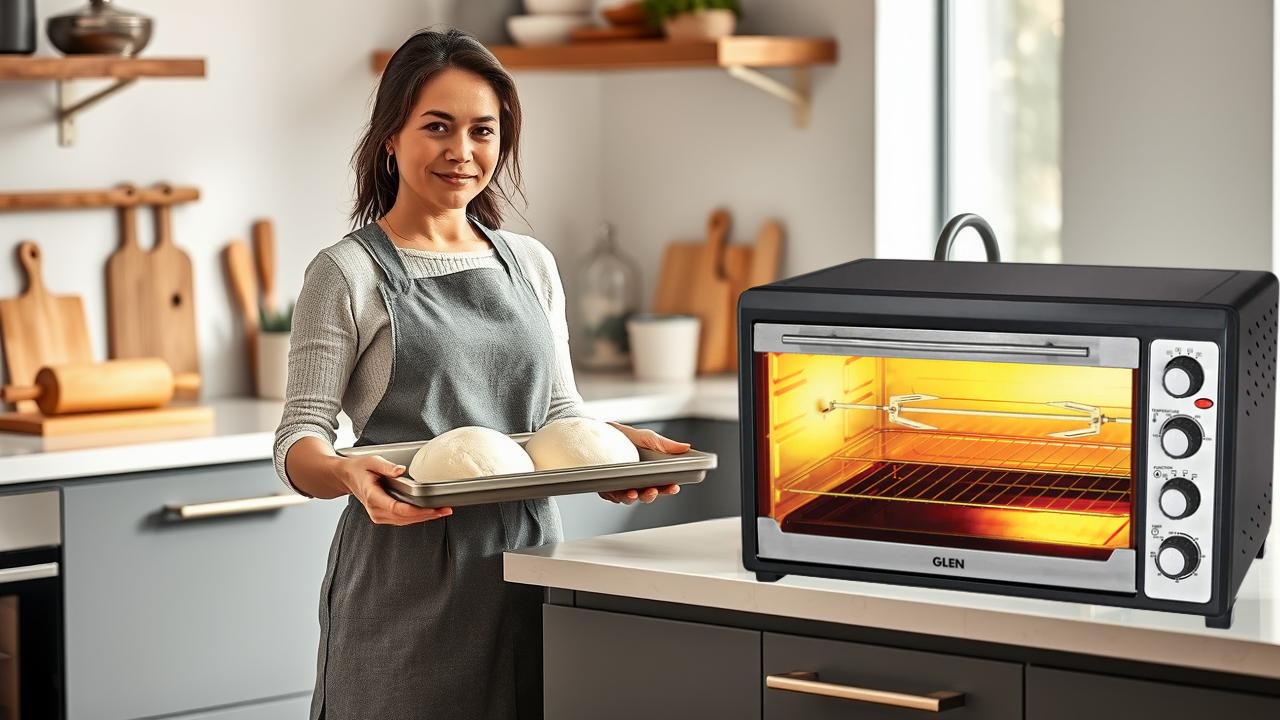
Step 7: Preheat the OTG
While the dough is rising, preheat your OTG to 190°C (375°F). Make sure the oven is fully heated before you put the bread in.
Step 8: Bake the Bread
Once the dough has risen, place the loaf pan in the preheated OTG. Bake for 25-30 minutes or until the top is golden brown and the bread sounds hollow when tapped. If you’re unsure, you can use a kitchen thermometer to check if the internal temperature of the bread has reached 90°C (190°F).
Step 9: Cool and Enjoy

Credits: Glen India
Remove the bread from the oven and let it cool in the pan for about 5 minutes. Then, transfer it to a wire rack to cool completely. Resist the urge to slice into it right away, letting it cool ensures the texture sets perfectly.
Conclusion
Home bread baking presents itself as an activity beyond cooking that offers therapeutic benefits and scents up the house with pleasant aromas.
An OTG combined with practice allows you to develop skills required for baking bakery-standard white bread.
You should consider the OTG from Glen India to begin your baking journey. Glen India's OTG appliances are made to simplify baking while creating pleasurable experiences for all users.
Happy baking!


Leave a comment