


How to Make Chicken Tikka Masala Restaurant Style at Home
For those who eat chicken, the smoky char of tandoori chicken is magical, making your mouth drool even before you take the first bite.
But what if we told you that you could achieve that same rich flavour and texture right in your kitchen, without a bulky clay oven or a barbeque setup?
Yes, you heard that right. It is now possible to achieve perfect restaurant-quality Chicken Tikka Masala at home through modern electric tandoor appliances. The modern electric tandoor serves as a tool that enables you to reproduce authentic restaurant-quality rustic taste easily.
Let’s dive into the flavours, aromas, and techniques that turn this beloved dish into a weeknight masterpiece or a weekend showstopper.
What Makes Chicken Tikka Masala So Special?
One of the most well-known South Asian dishes, Indian Chicken Tikka Masala does not need an introduction. This dish has its own loyal customers due to its creamy and tangy taste with a touch of spice. Roasted chicken (tikka) is added with a tomato and cream gravy (masala), of course not missing some grilled chicken. A particular taste is added because of the tandoor.
Urban Indian homes usually do not have a clay tandoor, which causes them to miss out on a lot of dishes. Electric tandoors will soon become a mansion's go-to as it serves just the same purpose.
Why Choose an Electric Tandoor for Chicken Tikka?
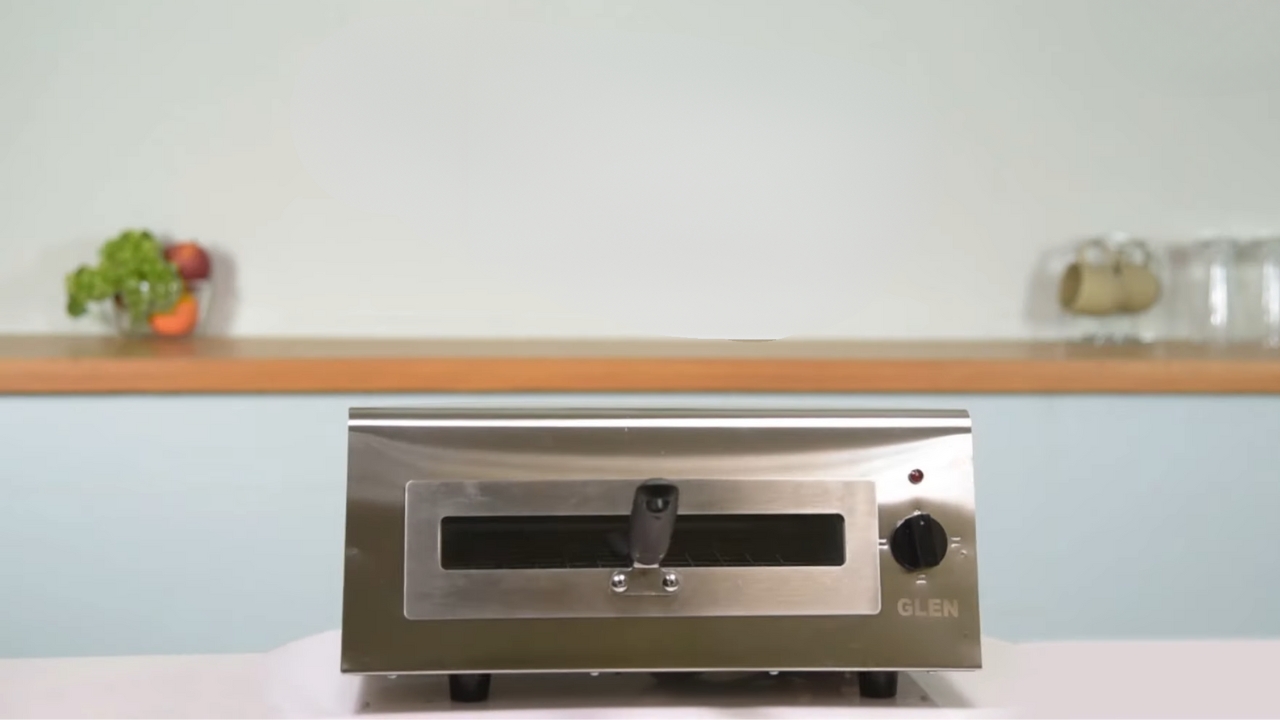
Credits: Glen India
Before we begin with the steps, let us see how this recipe benefits from an electric tandoor.
1. Smoky Flavour Without Charcoal
Just like clay tandoors, electric tandoors seek to recreate high-temperature cooking which is important for properly searing the chicken to keep its juices intact. This also helps in keeping the burnt flavor that we all love.
2. Even Heat Distribution
A well designed electric tandoor has strong heating elements to cook from all sides simultaneously, meaning there’s no more manually rotating the skewers or having to stress about one side cooking faster than the other.
3. No Smoke, No Fuss
Unlike stovetops and traditional grills, electric tandoors are smoke free, simple to clean, don’t require elaborate setup. Just plug it in, preheat, add marinated chicken and the rest will be done.
4. Energy Efficient and Time Saving
Today's electric tandoors are extremely efficient in energy consumption, and reduce time, often used for both quick meals and intricate recipes.
Ingredients You’ll Need
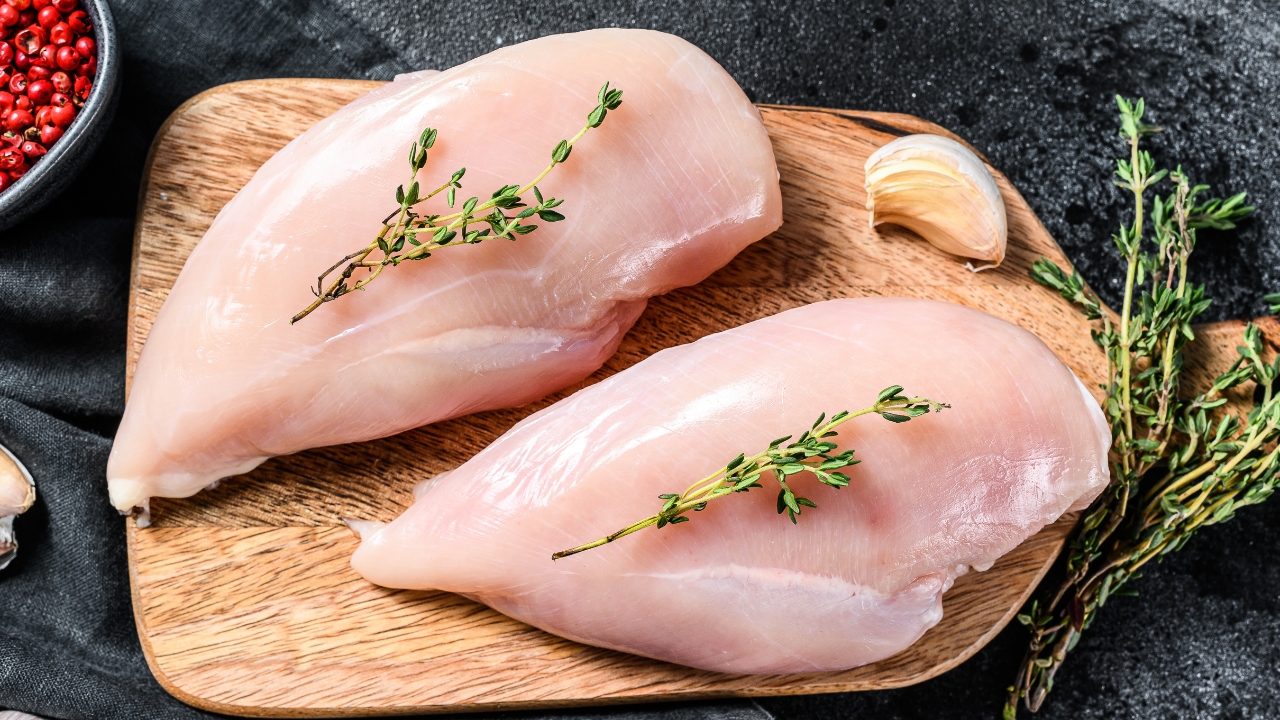
Credits: Canva
Let’s break this down into two parts: the chicken tikka and the masala (gravy).
For Chicken Tikka:
- 500 grams boneless chicken (preferably thigh pieces)
- 1 cup thick curd (hung curd works best)
- 1 tbsp ginger-garlic paste
- 1 tsp red chilli powder (adjust to taste)
- 1 tsp turmeric powder
- 1 tsp coriander powder
- 1 tsp cumin powder
- 1 tbsp lemon juice
- 1 tbsp mustard oil or any high smoke-point oil
- Salt to taste
- A pinch of garam masala
- Optional: A few drops of natural orange food colour for that restaurant-style look
For the Masala (Gravy):
- 2 tbsp oil or ghee
- 2 medium onions, finely chopped
- 1 tbsp ginger-garlic paste
- 2 large tomatoes, pureed
- 1 tsp red chilli powder
- 1 tsp cumin powder
- 1 tsp coriander powder
- Salt to taste
- ½ tsp sugar
- 1 tsp kasuri methi (dry fenugreek leaves)
- ½ cup cream or malai
-
Fresh coriander for garnish
Preparing the Chicken Tikka in Electric Tandoor
Step 1: Marinate Like a Pro
Start by rinsing the chicken then cutting it into medium-sized pieces. Place a paper towel over them to soak up any moisture left behind, this helps the marinade bond better to the chicken pieces.
In a mixing bowl combine curd , ginger garlic paste, lemon juice, spices, and oil. After blending the ingredients, add the chicken pieces and coat them thoroughly. Leave in the refrigerator for at least two hours, ideally overnight.
Step 2: Preheat the Tandoor
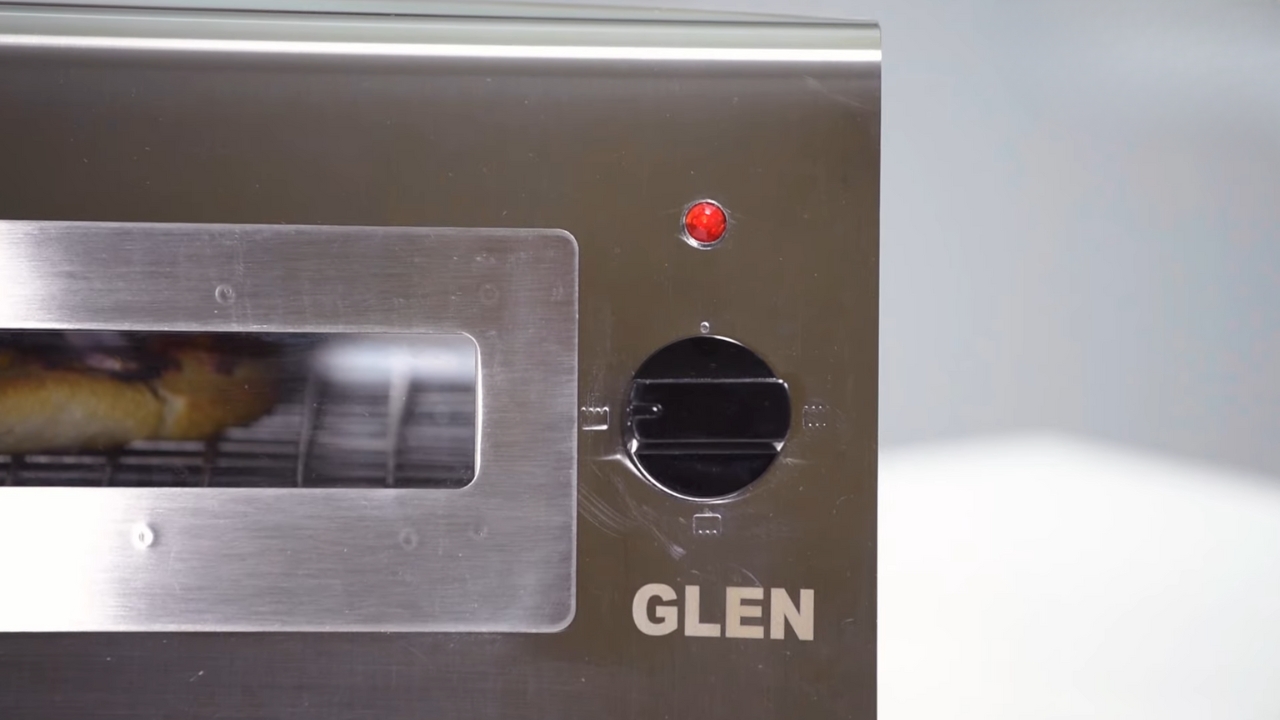
Credits: Glen India
Safely plug in your electric tandoor and place in the chicken to preheat for about 5-7 minutes. If the chicken does not sizzle or there is no steam rising from the chicken, then it means it has not preheated correctly.
Step 3: Grill Time
Brush some oil on the tandoor tray or line it with foil. Then, place the marinated chicken pieces in the grill tray and make sure that they are not piled on each other.
Ensure to keep an eye on the chicken so that it does not get overcooked. It can take as little as 12-15 minutes to be cooked, but flipping the chicken halfway through will ensure that it is evenly grilled.
After you’ve finished cooking, take out the chicken and let it rest for a few minutes. It will still be juicy on the inside and a bit crispy on the outside, just how you like it.
Making the Masala (Gravy)
While the chicken is cooking, you can prepare the masala side by side.
Step 1: Sauté the Onions
In a heavy-bottomed pan, heat oil or ghee. Place chopped onions in the hot pan before they achieve a golden brown color. A deep-flavoured gravy with rich taste requires you to complete this critical stage.
Step 2: Add the Ginger-Garlic Paste
Stir the pot with ginger-garlic paste until all raw aroma vanishes during a 2-minute cooking period.
Step 3: Time for Tomatoes and Spices
Use tomato puree as the first ingredient and then add the combination of red chilli powder and coriander powder, cumin powder and salt together. Heat the cooking pot to medium and watch for the oil to extract from the mixture. The total cooking time until reaching a restaurant-like base thickness is 10-12 minutes.
Step 4: Cream It Up
Lower the heat and add cream. Stir the mixture until it transforms into a shiny velvety consistency. Add sugar and kasuri methi. Leave the mixture to simmer while stirring gently for 2 minutes.
Step 5: Add the Tikka
Put the pre-grilled chicken tikka pieces into the masala mixture. The dish needs to simmer for 5–7 minutes so the chicken pieces can take in all the flavors of the gravy.
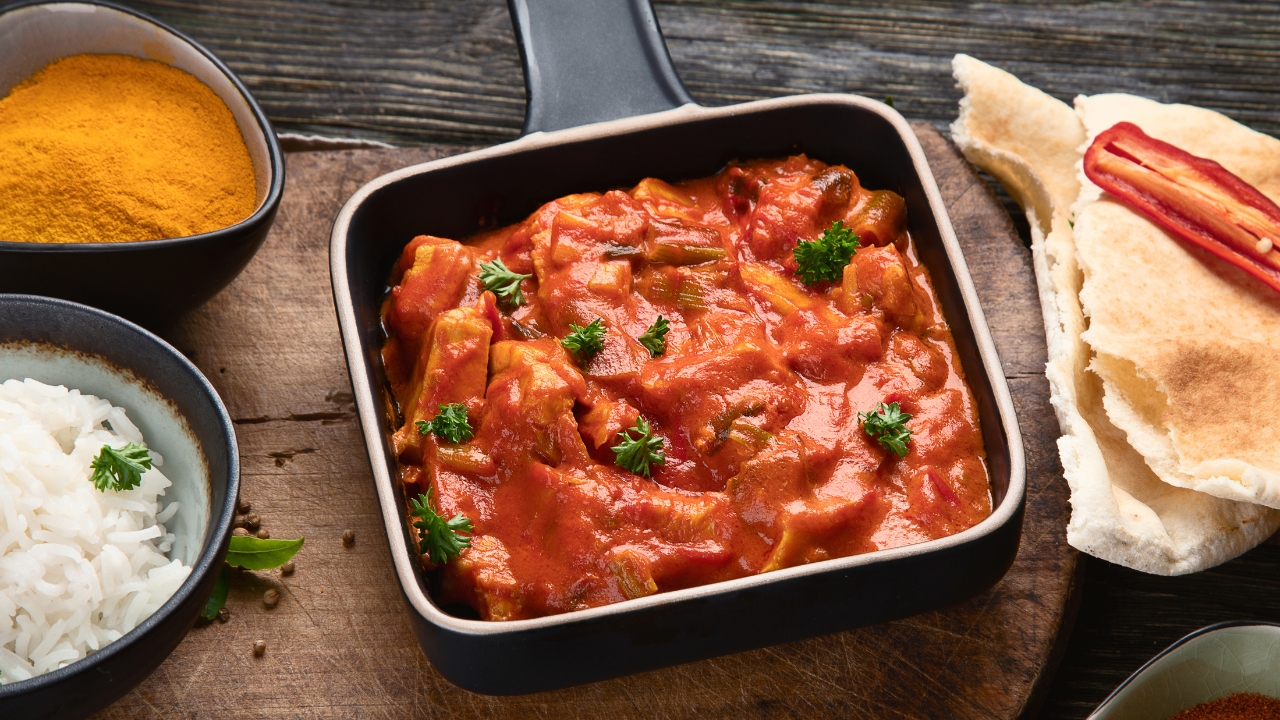
Serving Suggestions
Serve the dish hot with buttered naan or jeera rice or the flaky lachha paratha as accompaniments. The dish looks finished with both fresh coriander pieces and a drizzle of cream on top.
You could also serve it with a side of pickled onions or cucumber salad to cut through the richness.
Tips for Best Results at Home
Credits: Canva
1. Use Thigh Meat Over Breast
Thigh pieces remain juicier and are less likely to dry out in high-heat tandoor cooking.
2. Don’t Skip the Marination
Marination tenderises the chicken and infuses it with layers of flavour.
3. Preheat Your Tandoor
Always. It’s like preheating an oven, necessary for a good sear.
4. Use Skewers If Available
If your tandoor comes with skewers, use them to give that classic cylindrical shape and grill marks.
5. Clean the Tandoor After Use
Let it cool down, then wipe with a damp cloth or follow the manufacturer's cleaning guidelines. It helps prolong the life of your appliance.
Why Electric Tandoor is a Game-Changer in Indian Kitchens
The beauty of this appliance lies in its versatility. Besides tikka, you can make tandoori rotis, seekh kebabs, paneer tikka, grilled vegetables, garlic naan, and even pizzas.
It requires very little oil, making it a healthier option. Plus, it’s compact enough for small kitchens and ideal for those who love grilling but don’t want the outdoor hassle.
And most importantly, it bridges the gap between traditional tandoori flavours and modern home cooking convenience.
Final Thoughts: Restaurant-Style Tikka Masala Made Easy
Gone are the days when making Chicken Tikka Masala at home felt intimidating or incomplete without a clay tandoor. With the right electric tandoor, you get the perfect mix of tradition and innovation.
Whether you’re hosting friends, surprising your family, or just indulging your own cravings on a weekend, this dish is bound to be a hit. The aroma, the sizzle, the deep, smoky taste—it’s all yours, minus the mess and complexity.
And if you're wondering which electric tandoor can help you achieve all this seamlessly, Glen India’s Electric Tandoor is a solid choice. With efficient heating, user-friendly design, and consistent performance, it brings authentic Indian grilling right to your home.
So go ahead, fire up your tandoor, marinate that chicken, and treat yourself to a restaurant-worthy meal, without stepping out of your kitchen.
Leave a comment