


Punjabi Rajma Chawal Recipe – Homestyle Comfort Food You’ll Love
Table of Contents
Rajma Chawal is not just food. It's an emotion.
Ask any North Indian, and they’ll tell you – there’s something about the aroma of rajma boiling in the cooker, the sound of tempering in the pan, and the first spoonful of that spicy, creamy curry with fluffy rice that brings an instant smile.
With its rich tomato-onion gravy, the soft, buttery kidney beans, and a bed of steaming hot rice, Rajma Chawal is comfort food at its finest.
This blog explains step by step the creation of perfect Punjabi Rajma Chawal prepared with advanced cooking technology. We will guide you step by step from soaking the rajma through the entire cooking process until the final plating just like a friend. Why Rajma Chawal Is So Special
The key to excellent Rajma Chawal extends beyond its traditional preparation method. Rajma Chawal gets its magic through both cooking methods that include love and careful preparation assisted by smart kitchen technologies.
Let’s Start with the Ingredients
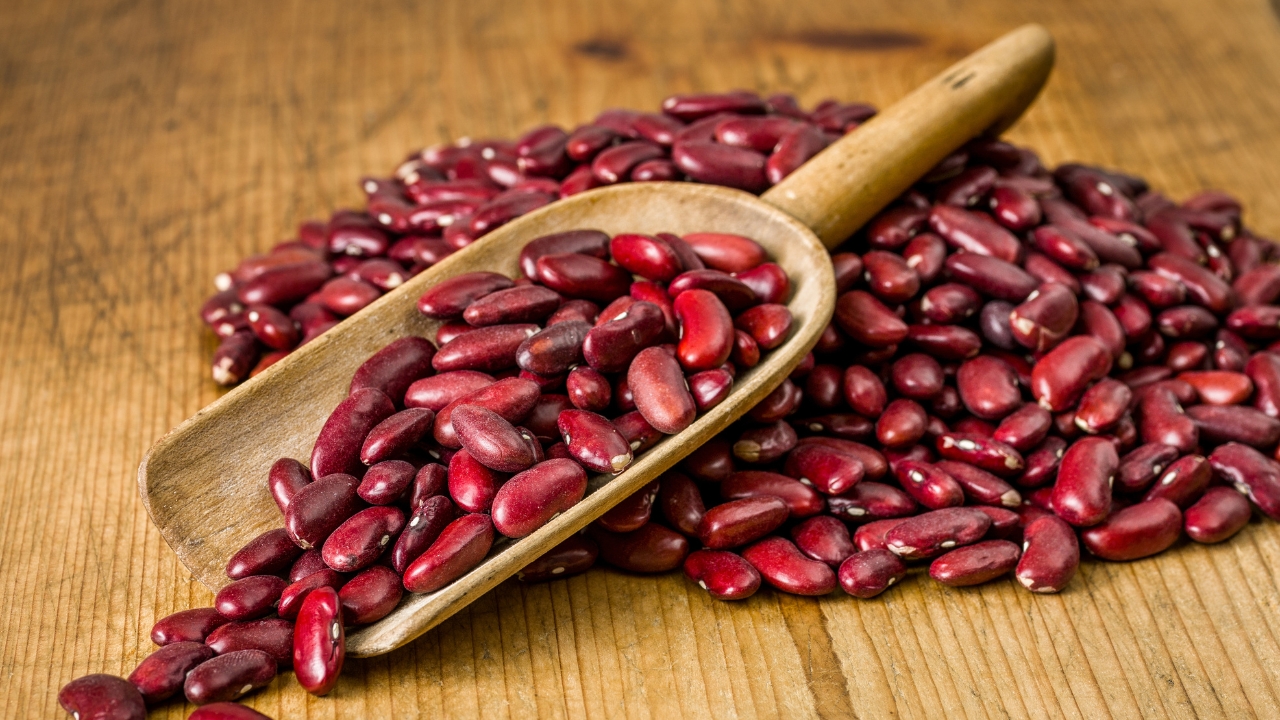
Credits: Canva
Here’s what you’ll need for an authentic Punjabi-style Rajma:
For Rajma:
- 1 cup rajma (red kidney beans)
- 3 cups water (for soaking)
- 2 tbsp oil (mustard or refined)
- 1 bay leaf
- 1 black cardamom
- 2 cloves
- 1 cinnamon stick
-
1 tsp cumin seeds
For the Masala:
- 2 medium onions (finely chopped)
- 2 large tomatoes (pureed)
- 1 tbsp ginger-garlic paste
- 2 green chilies (slit)
- 1 tsp red chili powder
- 1 tsp coriander powder
- 1/2 tsp turmeric powder
- Salt to taste
- 1 tsp garam masala
-
Fresh coriander (for garnish)
For Chawal (Rice):
- 1 cup basmati rice
- 2 cups water
- Salt to taste
-
1 tsp ghee (optional)
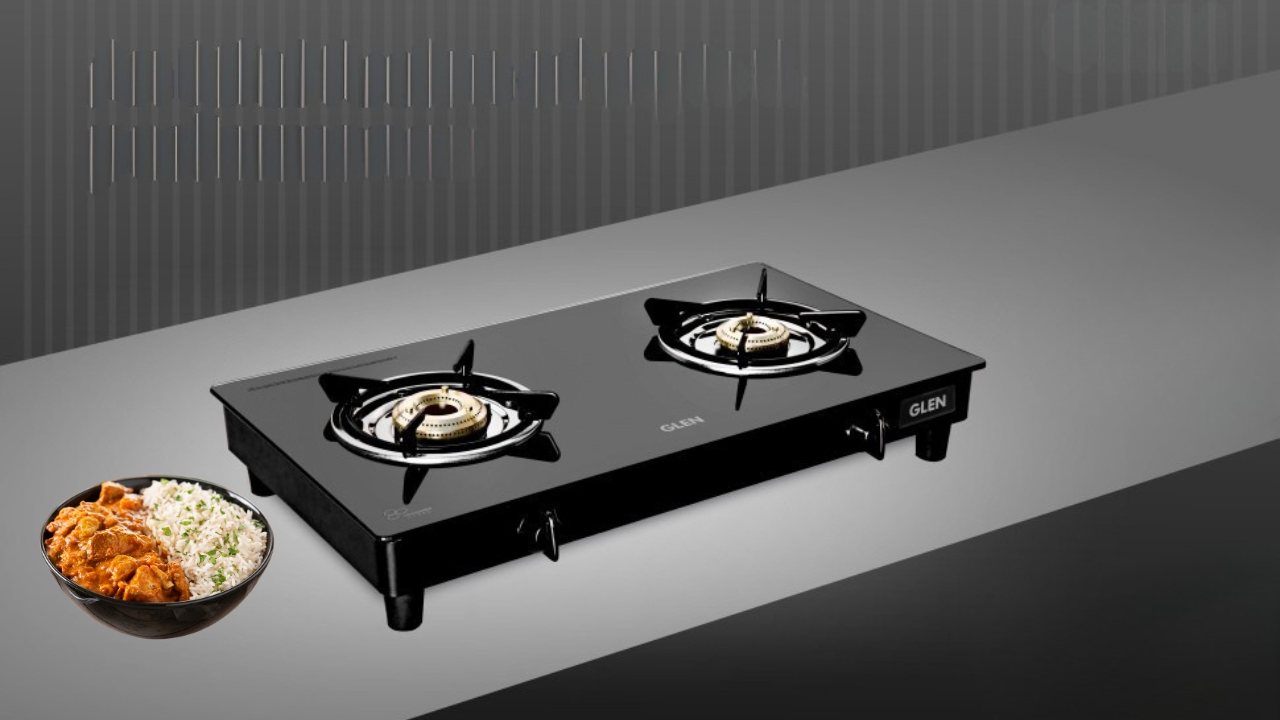
Step-by-Step Recipe Using Built-in Hob
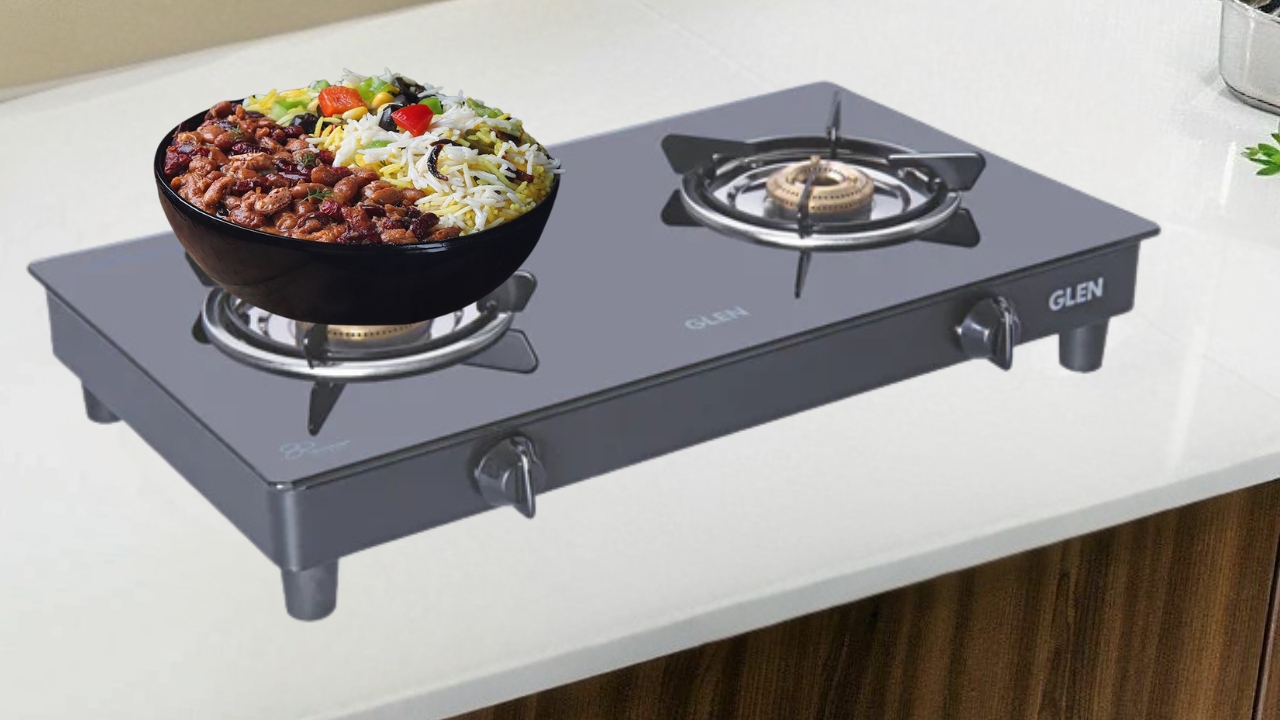
Credits: Glen India
For everyone to understand we will explain step by step procedures starting with the preparation of rajma followed by rice preparation. The first step begins with preparing rajma followed by rice preparation. Using the multi-zone hob enables simultaneous cooking of two different dishes which saves you time along with work.
Step 1: Soak and Pressure Cook the Rajma
The night before: Soak 1 cup of rajma in 3 cups of water overnight or for at least 8 hours. Soaking the beans assists them to prepare faster while their internal tissues soften up.
The hob requires you to activate its power then set your pressure cooker on a heat zone. The heating system has high efficiency so it speeds up water boiling time.
You need to place the soaked beans in a pot with fresh water for as much coverage as required along with salt before pressurizing for 4-5 whistles until the mixture becomes soft.
You can control heat settings by increasing the temperature to maximum before reducing it to medium after the initial whistle. You will achieve perfect cooking without any sticking or overcooked results because of the straightforward process.
Step 2: Prepare the Masala
While the rajma is cooking, let’s prepare the masala.
Turn on another burner of the Built-in Hob.
- Place a deep kadhai or non-stick pan on the hob.
- Add 2 tbsp oil. A flat glass hob surface ensures your pan remains stable, no wobbling.
- Once the oil heats up, add cumin seeds, bay leaf, cloves, cinnamon stick, and black cardamom.
- Let them splutter and release their aroma.
Now, add the chopped onions.
Cook on medium heat till they turn golden brown. This takes about 6-7 minutes.
Add the ginger-garlic paste and green chilies. Sauté until the raw smell disappears.
Now, add the pureed tomatoes, turmeric, red chili powder, coriander powder, and salt. Stir well and let the masala cook for 10-12 minutes until the oil starts separating.
With a built-in hob, you can set a timer so you don’t overcook or burn your masala. It gives you that hands-free confidence while you multitask.
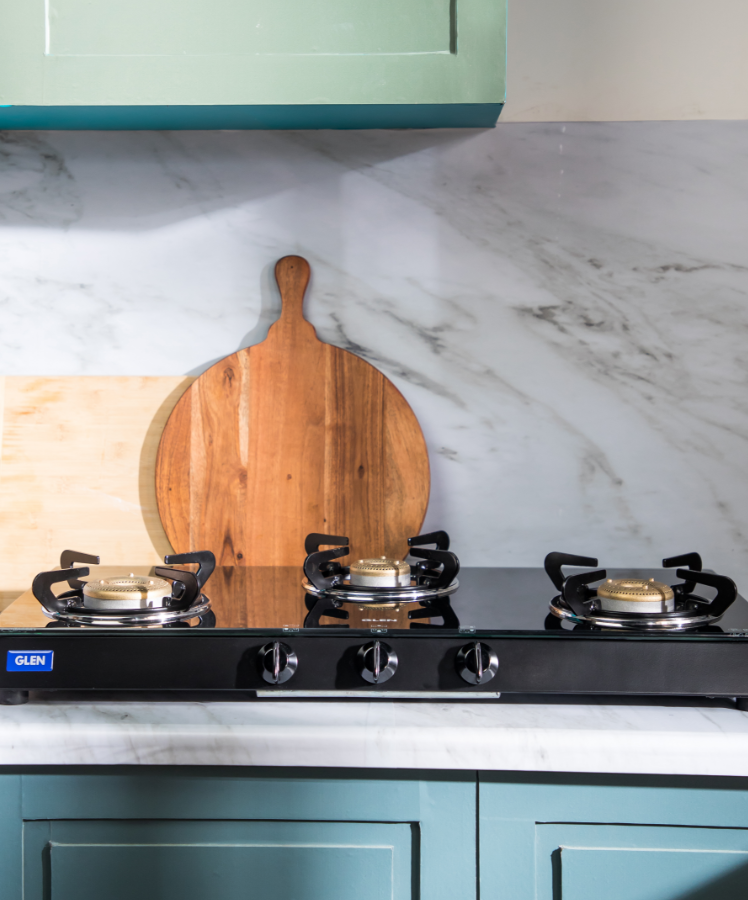
Step 3: Combine the Rajma and Simmer
Credits: Canva
By now, your rajma should be cooked and soft. Open the cooker once the pressure releases naturally.
Add the cooked rajma (along with the water) into your masala.
Mix well. Let it simmer on low heat for 15-20 minutes. This is where the magic happens – the rajma absorbs the flavors, and the gravy becomes thick and rich.
Durable hob allows for precise low-heat simmering without switching off suddenly, unlike traditional gas. That means perfect texture and flavor every time.
Sprinkle garam masala and let it rest for 5 more minutes. The resting period enhances the depth of taste.
Step 4: Cook the Rice
On the second burner, wash 1 cup of basmati rice until the water runs clear. Soak for 20 minutes and then drain.
Add rice, 2 cups of water, salt, and ghee (optional) in a deep-bottomed pan or rice cooker.
Cook on medium heat. With temperature control and auto shut-off features, your rice won’t burn or overcook.
Once the water evaporates, and the rice is fluffy and done, turn off the heat.
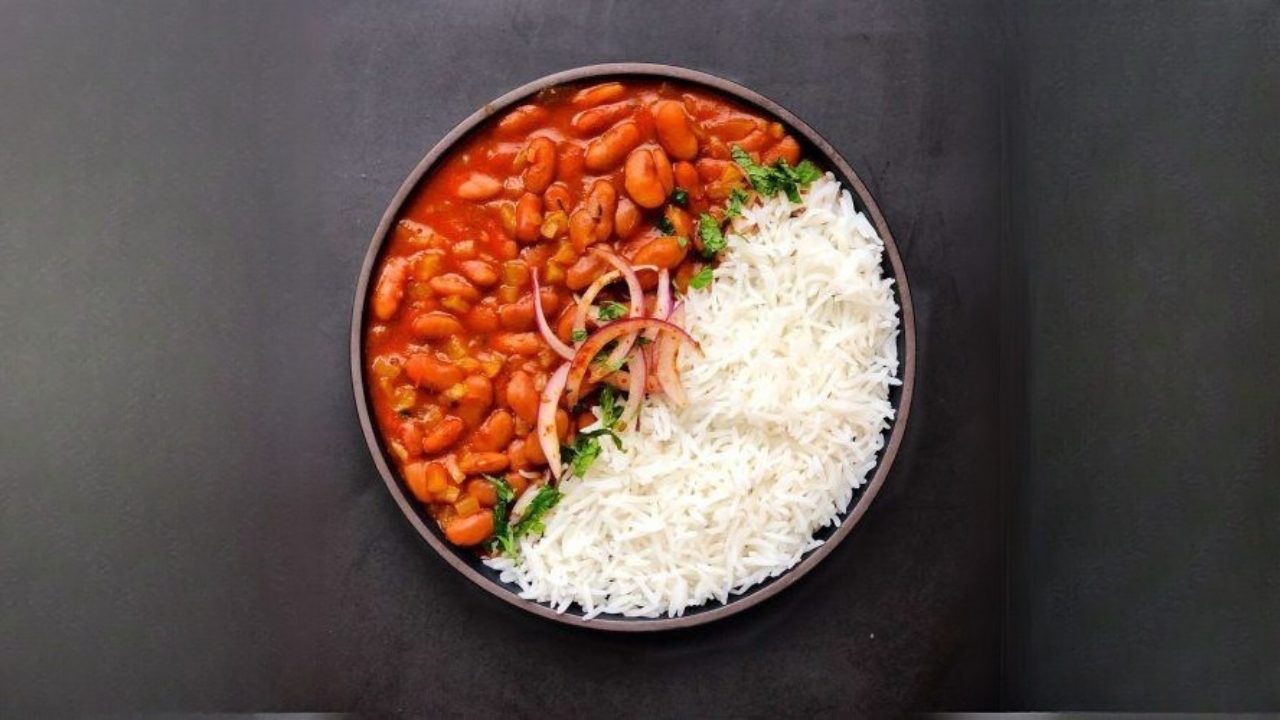
Plating and Garnishing
Now for the final and most satisfying part – plating!
Take a generous helping of hot rice and pour the steaming rajma over it. Garnish with fresh coriander and serve with sliced onions, green chilies, and a spoon of homemade pickle.
This, right here, is comfort in every bite.
Tips to Make the Best Punjabi Rajma Every Time
- Use fresh rajma, old stock often takes longer to cook and doesn’t soften properly.
- Don’t rush the masala, cook until the oil separates.
- Simmer patiently, rajma gets better as it simmers and rests.
- Use temperature control wisely, high heat for boiling, medium for sautéing, low for simmering.
- Add a spoon of butter or cream for extra richness if you’re feeling indulgent.
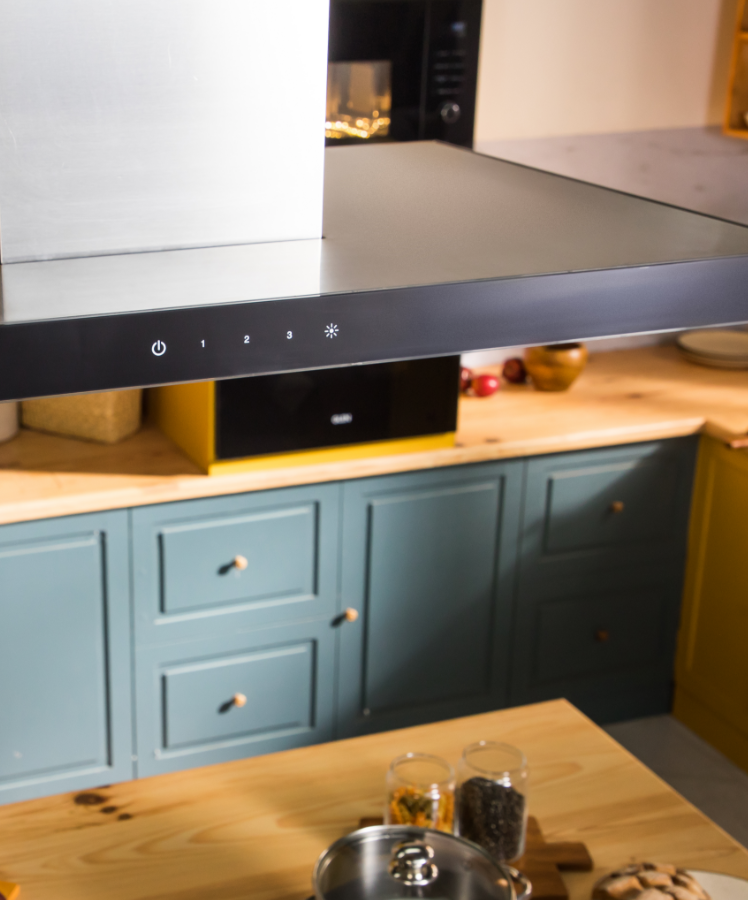
Why Built-in Hobs Make All the Difference
Credits: Glen India
Cooking isn’t just about ingredients. It’s also about the tools you use.
Here’s why the Built-in Hob is perfect for Indian cooking like Rajma Chawal:
1. Precise Temperature Control
No more guessing games. Whether you're boiling, sautéing, or simmering, built-in hobs give you full control at every stage.
2. Multiple Cooking Zones
You can cook rice and curry simultaneously. The hob offers flexibility and saves time – especially helpful when cooking for the whole family.
3. Elegant, Flat Design
The seamless black glass top is not only stylish but super easy to clean. After all, who wants to scrub burnt stains post-meal?
4. Energy Efficient and Fast
Induction is faster than traditional gas and more efficient. Our technology ensures maximum heat is directed to the vessel – meaning faster cooking and lower energy bills.
5. Smart Safety Features
Auto shut-off, residual heat indicators, child lock features have thoughtfully added features that give you peace of mind, especially in a family kitchen.
Glen: The Perfect Blend of Tradition and Modern Living
Punjabi Rajma Chawal may be an age-old recipe, but the way we cook it today has evolved. With our smart kitchen solutions, you can keep tradition alive while enjoying the ease of modern technology.
Whether you’re a working professional looking to cook a quick, comforting meal or someone who loves to experiment with homestyle recipes, Our Built-in Hob is your ideal kitchen companion.
It doesn't just help you cook better – it transforms the whole experience into something smoother, faster, and more enjoyable.
Final Thoughts
Homestyle cooking is about love, memories, and flavours that linger long after the last bite. Punjabi Rajma Chawal is one of those dishes that captures the essence of comfort and home.
And, when paired with Glen’s Built-in Hob, the entire process – from chopping to simmering to plating – becomes simple, efficient, and joyful.
So the next time you're craving something warm and hearty, bring out your rajma, fire up your Glen India hob, and create magic in your kitchen.
Because at the end of the day, food tastes better when it's cooked with love – and a little bit of Glen.


Leave a comment