


 >
>
Step-by-Step Guide to Installing a Kitchen Chimney
If you’ve ever whipped up something around your kitchen, you know that smoke, grease, and odour can overwhelm you quickly. A kitchen chimney is what you need to keep your space fresh and enjoyable while cooking.
Installing a chimney needn’t be a scary project whether you’re renovating your kitchen or building a new one.
With just some materials, a little direction, and trusted appliances like chimney, you’ll be up and running in no time.
Let’s dive into it, one by one!
Why You’ll Need a Kitchen Chimney
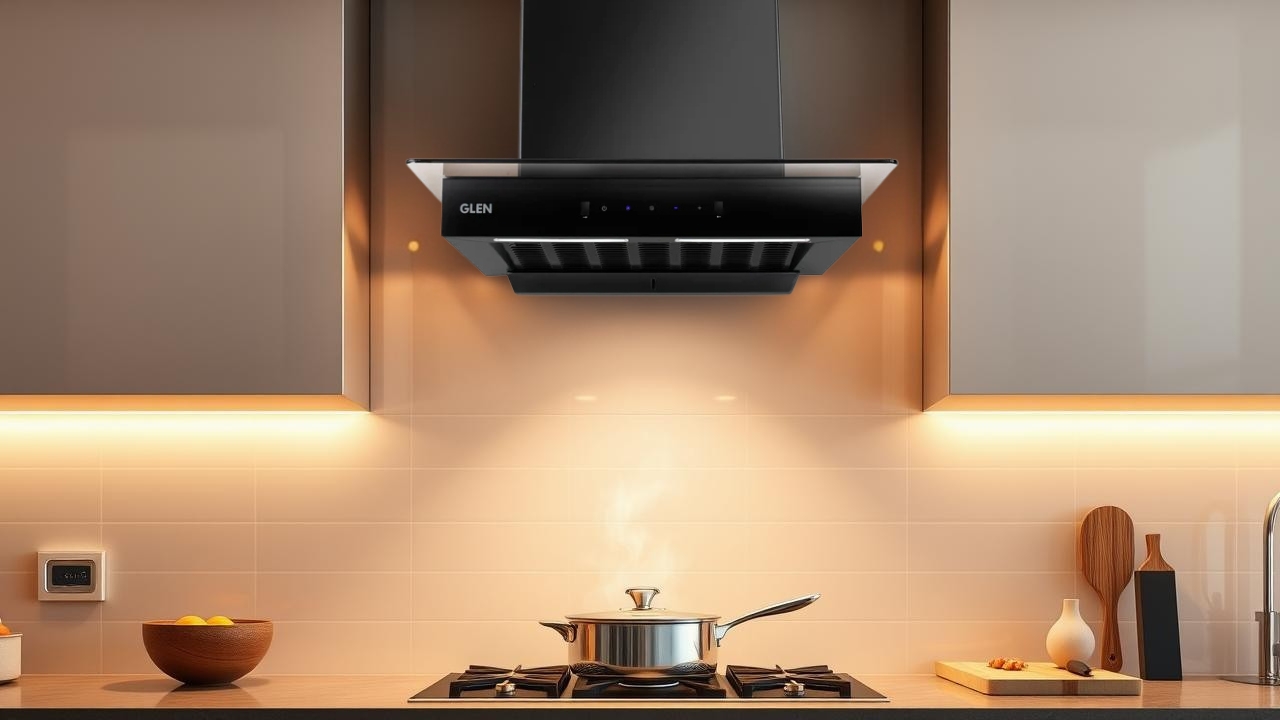
Credits: Glen India
To start with, let’s know why we need a chimney in the first place:
- Eliminates Smoke and Odors: Freshens the air in your kitchen.
- Stops Grease Pile-Up: Helps grease from gathering on walls and cabinets.
- Improves Air Circulation: Boosts air circulation.
- Styling: Decorates your kitchen.
Tools You’ll Need for Installation
Carry these resources at hand:
- Bit drilling machine with proper bits.
- Measuring tape.
- Screwdrivers.
- Plugs, screws, and plugs for wall outlets (provided in the chimney).
- Marker or pencil.
- Level.
- Aluminum duct pipe (if required).
- Safety gloves and goggles.
Steps to Install a Kitchen Chimney
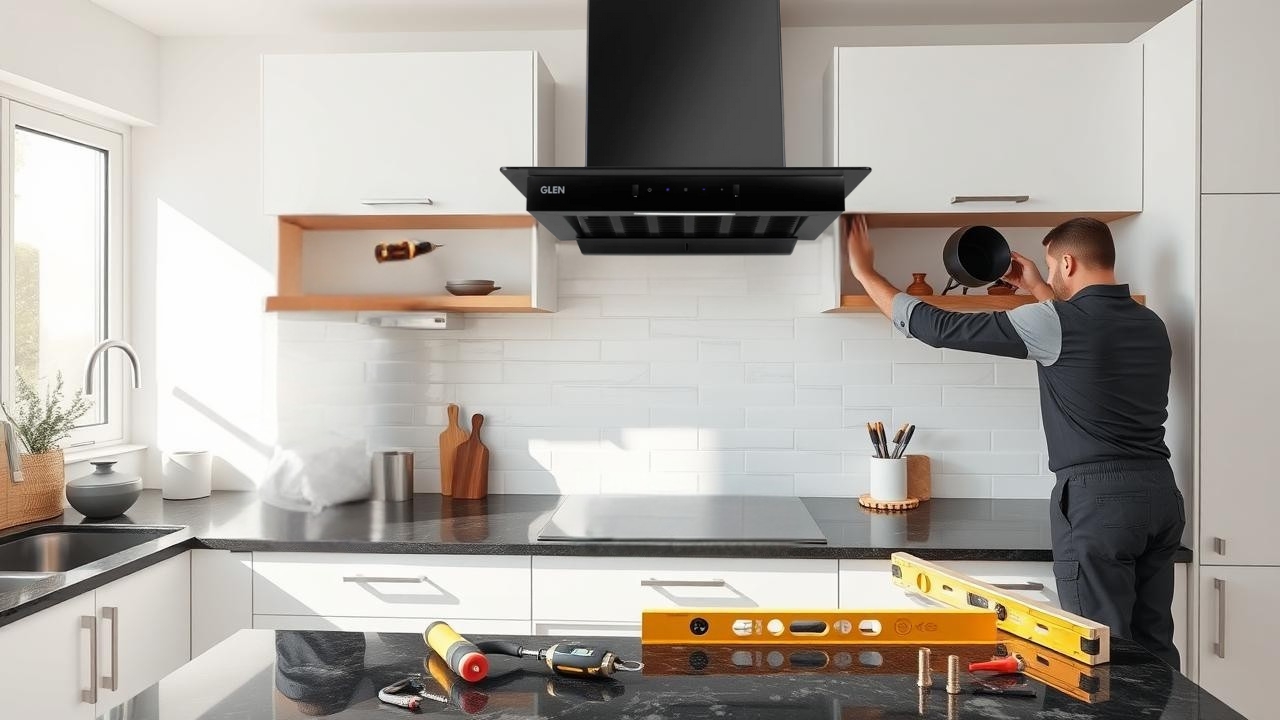
Credits: Glen India
Step 1: Pick the Proper Chimney for Your Kitchen
First thing you need to decide on the chimney, according to your kitchen space, design, and food preferences. There are various types of chimneys offered by Glen India, wall-mount, island, and built-in, so there is one for you.
Step 2: Figure out Chimney Location
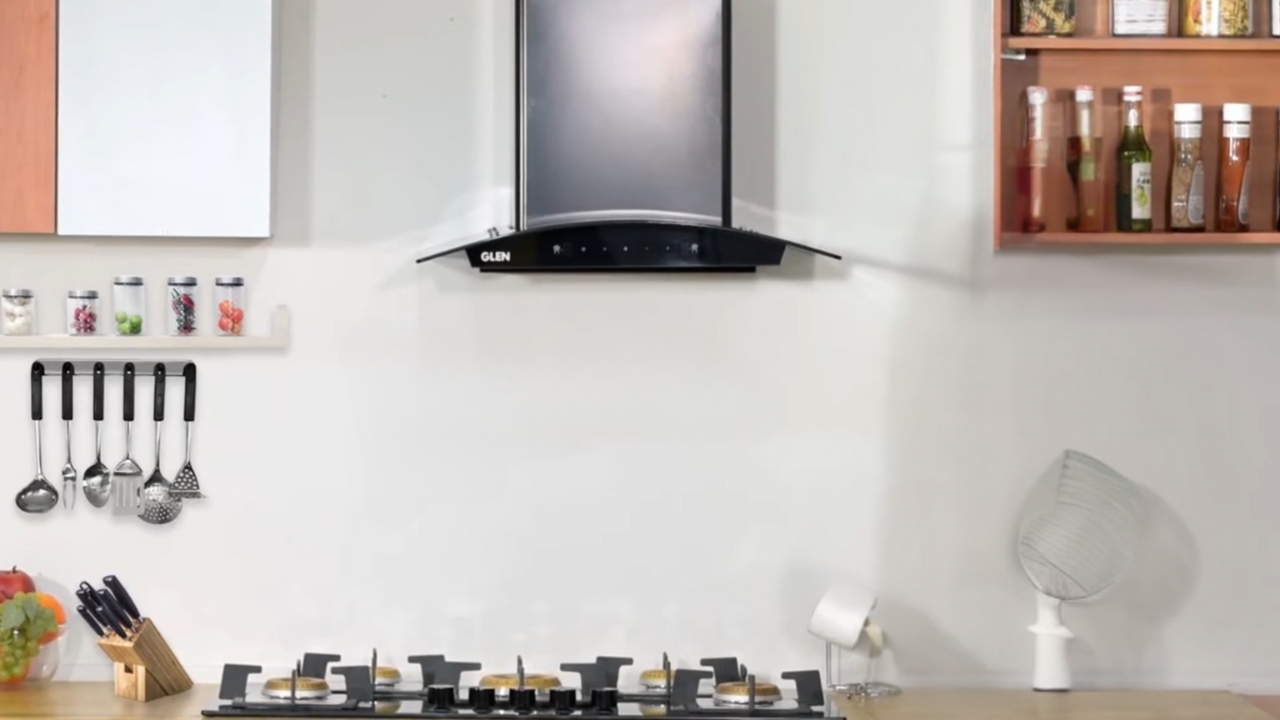
Credits: Glen India
- Ideal Height: The chimney must be 28–30 inches above the cooking area for good suction.
- Positioned in the Center: Place the chimney in the center of the stove or hob.
- Close to Outlet: Make sure there’s a wall or ceiling nearby for the duct pipe.
Step 3: Mark the Plating Sites
- Mark the locations of the screws with a tape measure.
- Be sure that it is flat so that it will not go in the wrong way.
- Double-check alignment to the stove or hob.
Step 4: Make Holes and Put Brackets On It

Credits: Glen India
- In the holes marked, drill holes with a drill machine.
- Plug in wall plugs to secure.
- Fix the mounting brackets with screws.
Step 5: Attach the Chimney
- Place the chimney carefully on the rungs.
- Screw in the chimney and lock it.
Step 6: Join the Duct Pipe (On Ducted Models)
- Place one end of the aluminum duct pipe on the chimney outlet.
- Leak-proof the connection with duct tape or clamp.
- Then run the pipe straight to the outside vent, as close to the top as you can to keep it in airflow.
Step 7: Electrical Connection

Credits: Glen India
- Set the chimney in a socket close by.
- Check the voltage with the needs of the chimney.
- Install a stabilizer to help shield the appliance from voltage spikes if you have to.
Step 8: Final Checks
- Switch on the chimney and see if it is fully suctioned.
- Make sure that the duct pipe is not leaking and it is tightly installed.
- Make sure the chimney is silent and effective.
Cleaning Your Kitchen Chimney
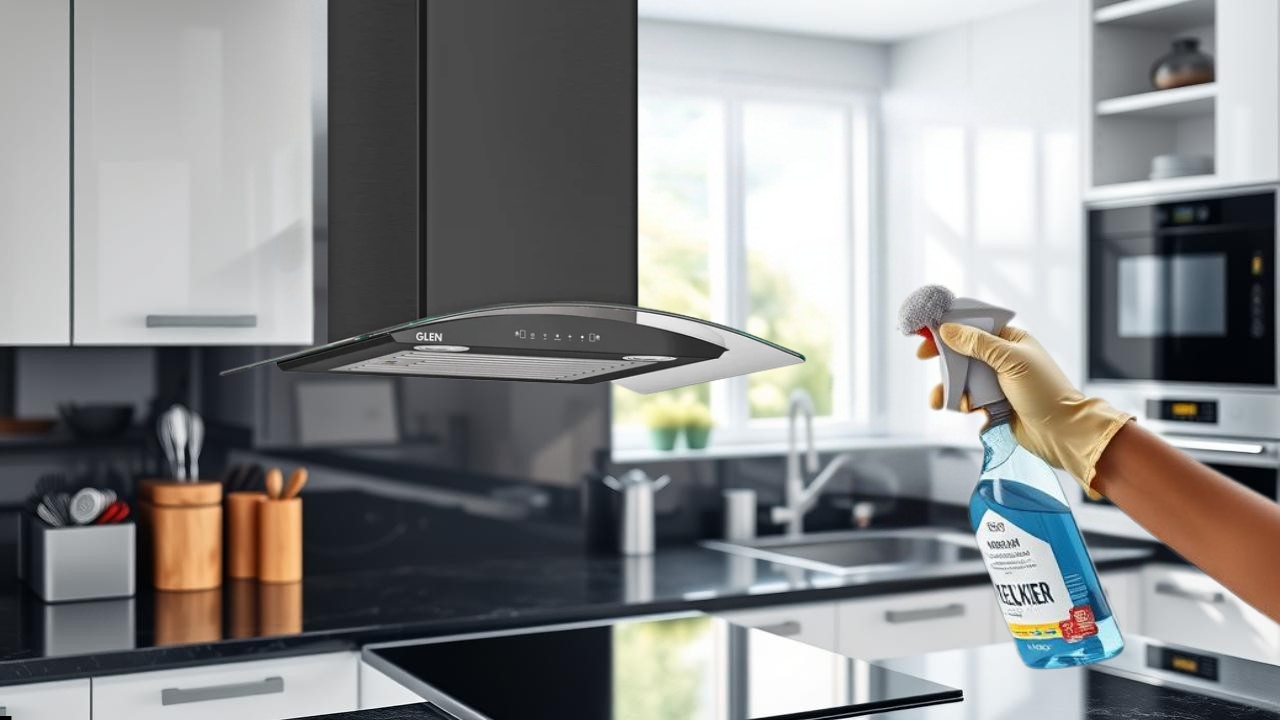
Credits: Glen India
Tips for Kitchen Chimney Maintenance
- Filters Should Be Washed Twice a Week: Wash baffle filters every 2–3 weeks to ensure the best performance.
- Clean the Exterior: Wipe the exterior of the chimney with a soft towel and some mild detergent.
- Refresh Often: Get professional maintenance every 6 months.
Common Mistakes to Avoid
- Misplaced Height: Installing the chimney too high or too low lowers efficiency.
- Mistaken Ventilation: A cracked or bent duct pipe will block airflow.
- Improper Installation: Screws can be loose and vibrations can occur.
Why Choose Glen Kitchen Chimneys?
Glen India offers you kitchen chimneys which are sophisticated and ideal for Indian cuisines. Here’s why they stand out:
- High Pressure Lift: Works well for smoke and grease extraction.
- Strong Construction: The materials are good and last a long time.
- Energy Efficient: Low power consumption.
- Stylish Designs: Complements modern kitchens.
- Easy Cleaning: Separate filter for cleaning.
Conclusion
The process of putting up a kitchen chimney might be a tricky one, but it is not with some proper instructions and the right brand like Glen India. You can have a cleaner, fresher, and much more fashionable kitchen as soon as you follow these guidelines and apply the right tools.
Ready to upgrade your kitchen? Learn about Glen India’s range of latest kitchen chimneys here and experience a new level of cooking!
Leave a comment