


How to Make Delicious Chicken Pizza in OTG at Home Crispy Crust & Cheesy Perfection!
Many people believe that delicious pizza can only be made with a fancy pizzeria or a wood-fired oven since it requires special tools. And even in India, there are families who can't understand the thought of a homemade pizza being anything but disgusting. Pizza that is homemade is perceived as overly chewy, overly moist, or just another iteration of burnt rotis drenched in ketchup.
Cooked chicken pizza has the potential to rival your local joint when it comes to taste, especially when prepared in an OTG. And as I’m sure you are wondering, no we don't need any elaborate instructions or secretive steps, rather just straightforward ingredients, few instructions, and the magic that is OTG.
What you will find here is precisely what you need to fix the dilemma of how to state that pizza craving. This step-by-step approach guides you in creating mouth-watering pizzas from scratch in an OTG.
So if you love the satisfying feeling when lustrous cheese, golden brown toppings nestled in a crunchy shell, ah, it feels heavenly doesn't it?
Let’s dive into the deliciousness!
Why Use an OTG for Pizza Making?
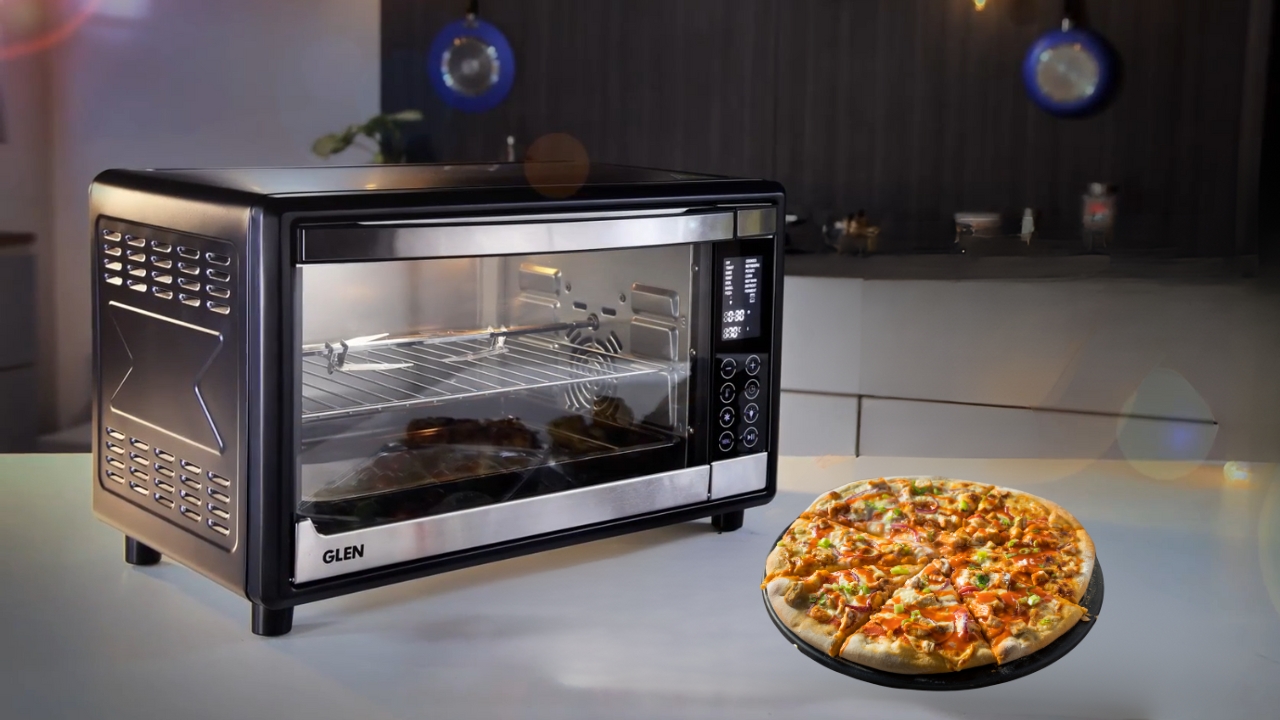
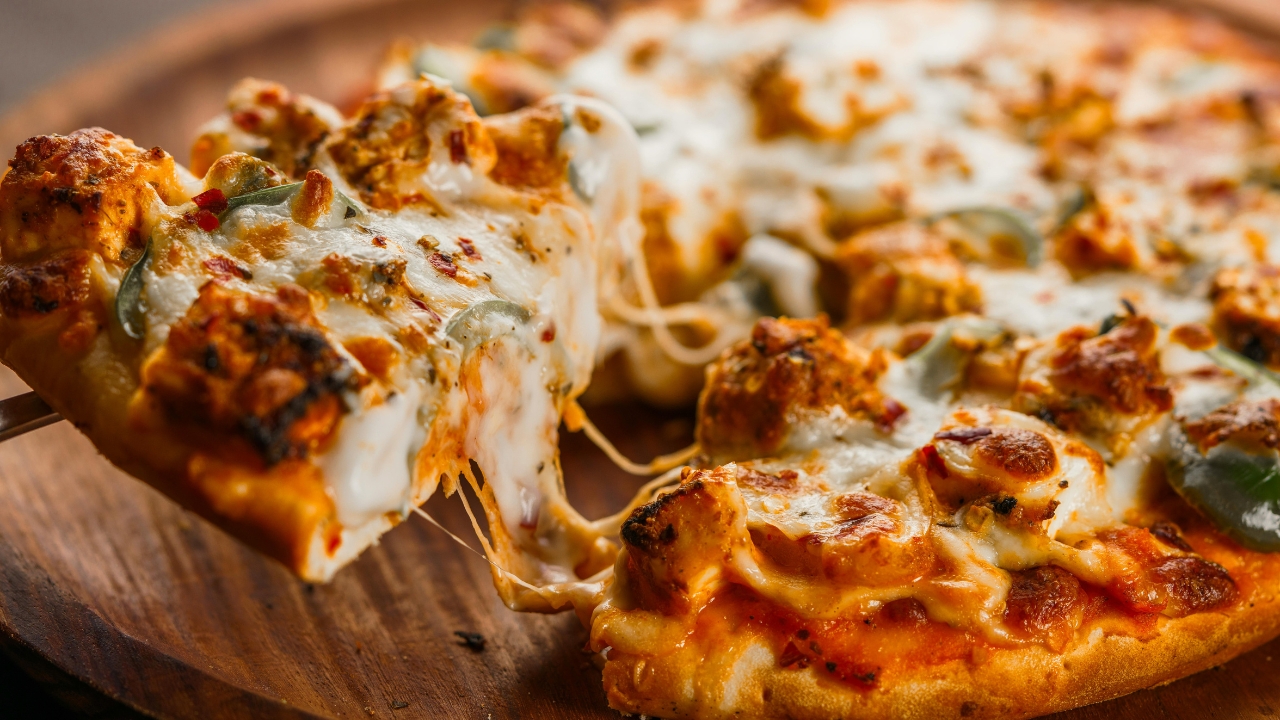
Credits: Glen India
Prior to discussing the actual recipe, let’s reply to the question of ‘why OTG.
If you have a pizza craving or are fond of baking ‘as is’ a OTG (Oven Toaster Griller) will do wonders to your culinary skills. Here is the reason why.
- It helps achieve that signature crispy bottom by distributing heat evenly throughout the device.
- You can single-handedly manage both top and bottom heating elements.
- It's efficient in energy and space consumption, making it ideal for household use.
- Unlike microwaves that always make pizzas soggy, it delivers the delicious, oven-baked finish that’s perfectly achievable.
With the right settings, your OTG can mimic a professional pizza oven, minus the massive cost or space.
Essential Ingredients You’ll Need
Let’s get started by getting your kitchen counter ready.
For the pizza dough:
- 2 cups all-purpose flour (maida)
- 1 teaspoon dry yeast
- 1 teaspoon sugar
- ½ teaspoon salt
- 1 tablespoon olive oil (or any cooking oil)
- ¾ cup lukewarm water
For the chicken topping:
- 200 grams boneless chicken (cut into small chunks)
- 1 tablespoon curd
- ½ teaspoon red chilli powder
- ½ teaspoon garlic paste
- ½ teaspoon black pepper
- Salt to taste
- A dash of lemon juice
For assembling the pizza:
- ½ cup pizza sauce (store-bought or homemade)
- 1 to 1½ cups mozzarella cheese (shredded)
- 1 small onion (sliced)
- 1 small capsicum (sliced)
- 1 teaspoon mixed herbs (oregano, thyme, basil)
- ½ teaspoon red chilli flakes
- Cornmeal or flour for dusting
Step-by-Step Dough Preparation
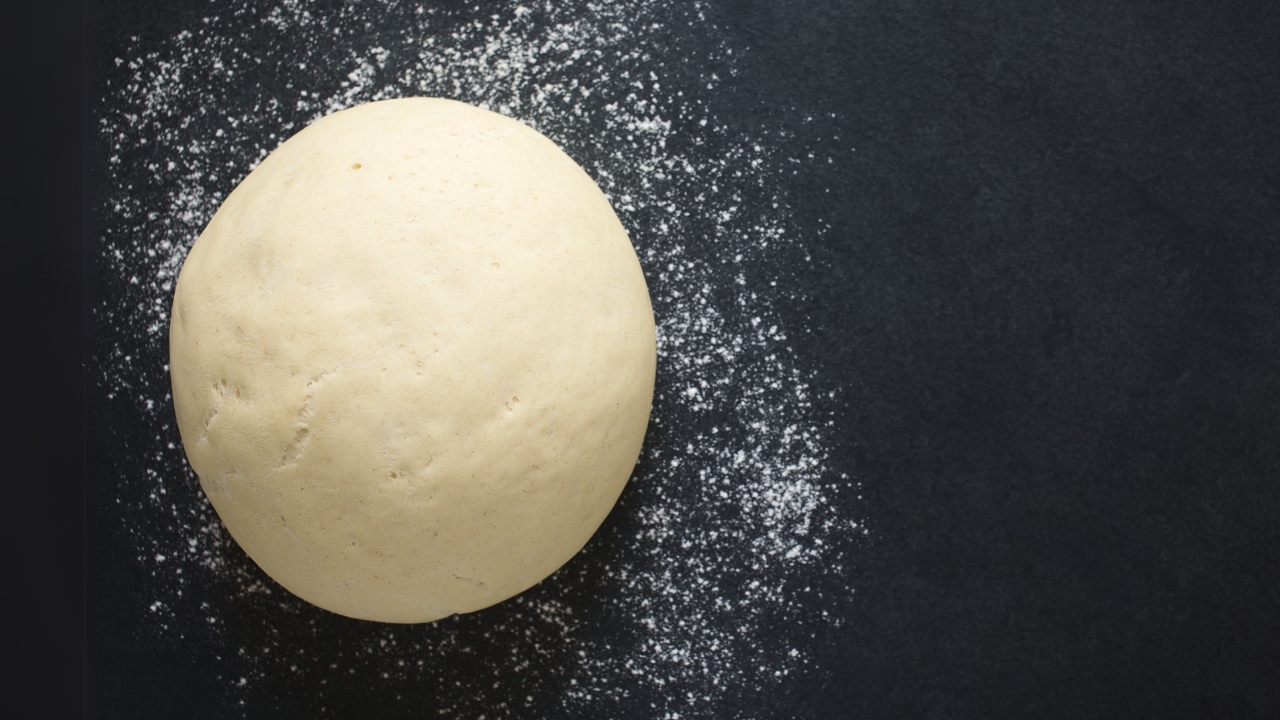
Credits: Canva
- Cooking is an art which begins with the fitting foundation and dough is one of the primary pieces of it. It can be a daunting task at first but kneading dough is an interesting leisure and this can prove to be very rewarding later on.
- Combine the sugar, yeast and lukewarm water in a cup and give it a light stir. After this patiently wait for around 10 minutes until bubbles start to form and the mixture turns frothy.
- Into a new mix bowl, pour in the flour along with salt. Subsequently create a hollow in the flour and salt mixture before pouring in the yeast blend and olive oil.
- Start with mixing it using prosthetic hands or a spoon until it comes together to form a rough mixture.
- Transfer to a clean surface and smooth it out. Pour the olive oil on top followed by salt and ferment for around 8 to 10 minutes. The dough should now be smooth to the touch and stretchable.
- Now grab a bowl and place it in the oven till warm, make sure to grease it beforehand. After the bowl is all set pour in the dough along with a damp cloth on top. Let it sit in a warm spot for an hour or two till it doubles in size.
- Doesn't require much peer pressure, this time is essential as it aids in enhancing flavor, combining dough textures and making your pizza fluffier feeling on the inside while giving it a crunchy texture outside.
Marinating & Cooking the Chicken
When your dough starts rising, you’ve got enough time to get the chicken ready.
- Get a bowl and put in it curd, garlic paste, red chili powder, black pepper, lemon juice, and salt.
- Toss in the chicken pieces and coat them well.
- Let it marinate for at least 30 minutes. If you have more time, even better.
- Cook the chicken in a non-stick pan for 7 to 10 minutes until fully cooked and slightly charred. Keep it aside to cool.
This juicy, flavorful chicken will be the star of your pizza!
Preparing Your OTG for Baking
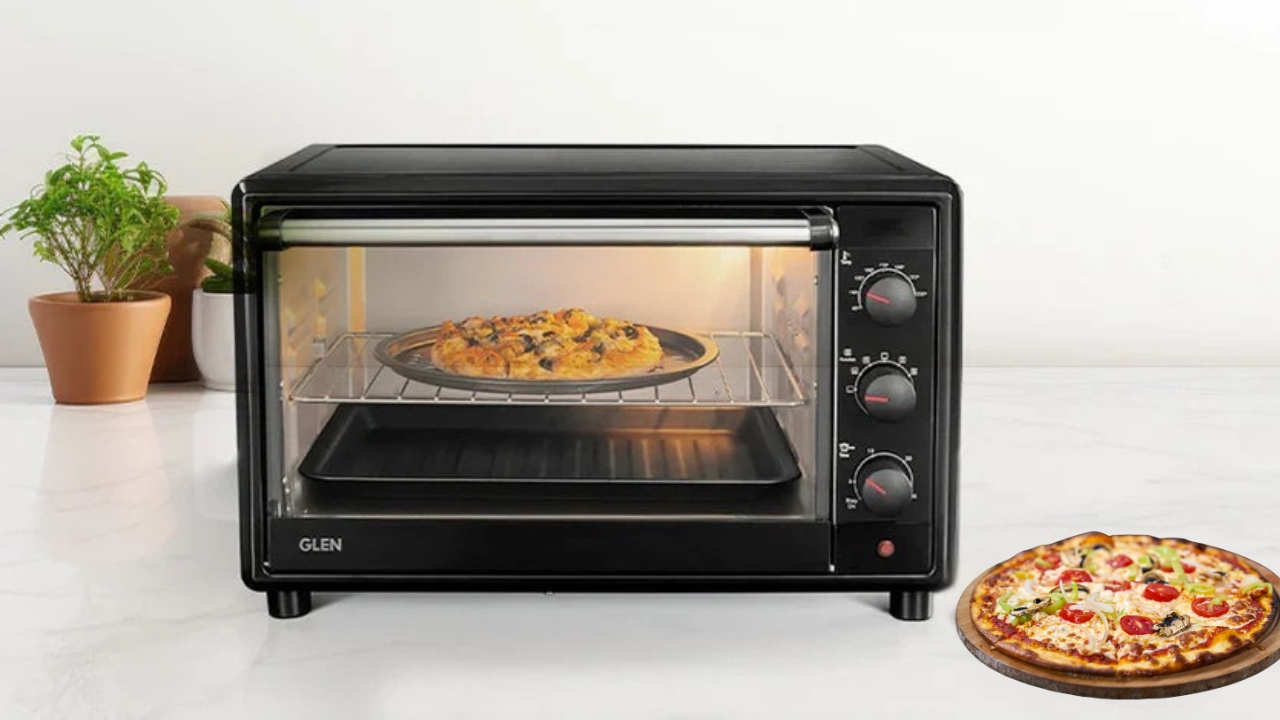
Credits: Glen India
OTGs are quite straightforward once you get the hang of them. How to set the stage for pizza perfection:
- Ensure the OTG is set to 230 degrees Celsius and is maintained for 10 to 15 minutes.
- For better results, place the tray or stone in the OTG as it is heating.
Assembling the Chicken Pizza
The fun begins now! Here's how to bring everything together:
- Once your dough has risen, punch it down gently to release air.
- You can split this into two servings for two medium pizzas, or for one big pizza, you can use it all.
- Sprinkle a thin layer of flour onto the pizza tray in order to prevent sticking.
- Take care not to reshape the dough too much while transferring it to the pan, giving it a gentle poke with a fork to release any trapped air.
- Put on a considerable amount of pizza sauce.
- Add shredded mozzarella cheese.
- Place the chicken and onions as well as capsicum on top of the cheese.
-
Add your preferred amount of herbs and chili flakes to the pizza.
Baking It Right
Now that your pizza looks like a work of art, it’s time to bake!
- Set your OTG to bake mode with both top and bottom rods on.
- Insert the tray and set the temperature to 230°C. Make sure to bake for 15 to 18 minutes. It is ready when the crust turns golden and the cheese melts.
- If the top is not sufficiently brown, for the last 2-3 minutes you can turn off the bottom heat.
Tips for Getting That Crispy Crust
- Preheating is non-negotiable.
- A pizza stone or a preheated tray gives the base that crunchy finish.
- Restrict sauce and cheese; too much may add weight to the crust.
- For the best melt, use high-moisture fresh mozzarella.
Variations to Try Next Time
Now that you know how to make a classic chicken pizza, feel free to try out different variations.
- BBQ Chicken Pizza: In this variation, replace the pizza sauce with BBQ sauce and add some caramelized onions for extra flavor.
- Spicy Tandoori Pizza: This one has a bit of a desi twist since the chicken is marinated with tandoori masala.
- Veggie Delight: For a veggie option skip the meat and add mushrooms, olives, and jalapenos.
- Cheese Burst Base: For a surprise, add cheese between the two layers of dough and have it burst out when you cut the pizza.
- Thin Crust Pizza: Cut the dough thinner and reduce the baking time to achieve that crunchy cafe style.
Serving & Enjoying Your Pizza
Credits: Canva
After the baking process is done, pizza should be pulled from the oven, and allowed to rest for 1 minute before being cut into pieces. A pizza cutter or kitchen knife both work when slicing the pizza into wedges. If someone were to desire more seasoning, adding olive oil or hot sauce could accomplish this, along with the addition of preferred spices.
Pair your homemade chicken pizza with:
- A fizzy soda or chilled iced tea
- A fresh salad with lemon dressing
- Some classic garlic bread
And don’t forget the good ol’ “Instagram story” moment your feed deserves that cheesy pull!
Why Making Pizza at Home is Worth It
Homemade pizza isn’t just about food. It’s an experience. A little kneading, some sizzling toppings, and the aroma that fills your kitchen it’s pure joy. You oversee what goes in, set aside the preservatives, and create experiences in the process.
Also, it’s a great opportunity to relax with your spouse or spend quality time with the children at pizza night. You will save money, eat healthier, and build a skill that’ll impress everyone from friends to in-laws.
Conclusion
Making delicious chicken pizza at home in an OTG is not only possible, it’s deeply rewarding. You’ll wonder why you ever ordered takeout! With the right dough, juicy toppings, and an OTG that does its job right, you’re all set to master crispy crusts and cheesy perfection.
And when it comes to reliable OTGs that give you consistent results every time, Glen India’s range of OTG ovens ensures your homemade pizza dreams turn into delicious realities.
Leave a comment